| Jack the car up and place it on axle stands, install wheel chocks. Disconnect the battery. Remove 2 front wheels. | |
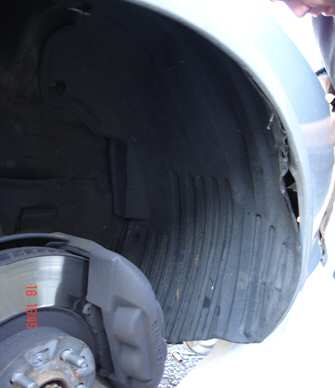 |
Looking inside the wheel arch you will see 3 or 4 screws/bolts that hold the plastic trim to the front wing, remove these, then pull the trim ajar & away (This will take some force to do but the plastic is not brittle so it will just bend) |
 |
Now sliding your hand inside the gap between the trim & the wing, you should be able to feel the 3 nuts & bolts that hold the front bumper on |
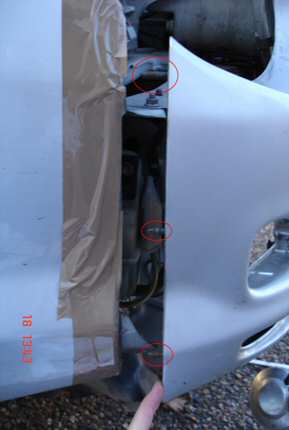 |
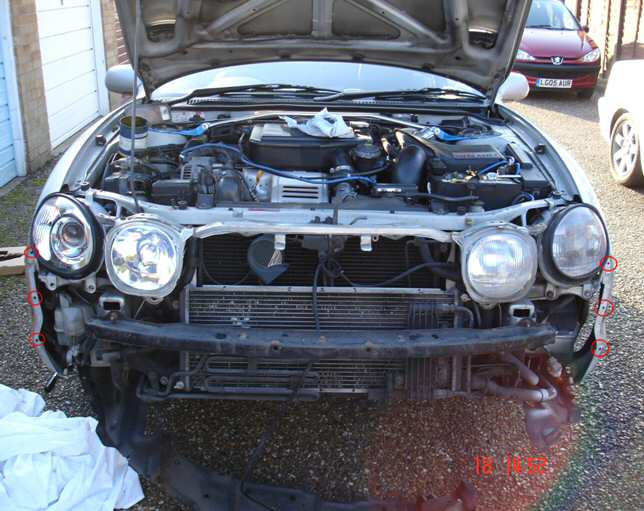
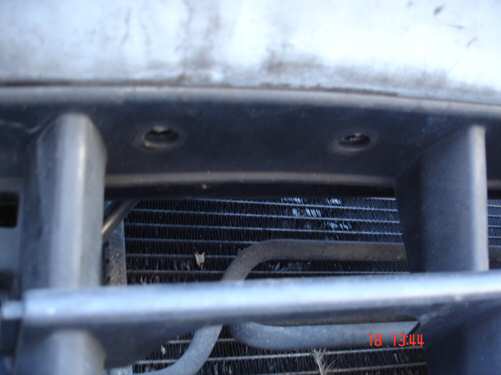
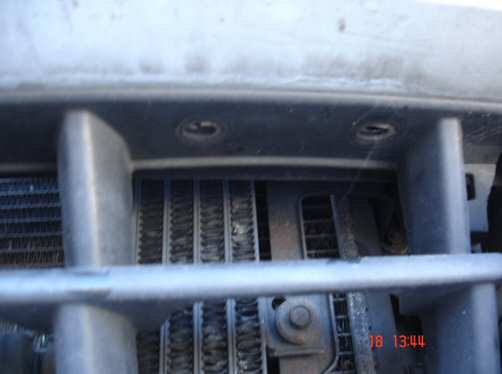
This picture gives you an idea where the nuts are located. Using the Socket ratchet with the extender bar fit the universal joint & then remove the 3 bolts, if they are stiff use a bit of WD40 & let it soak in for a while, then try to remove again (Note: These nuts & bolts are metal & not plastic) |
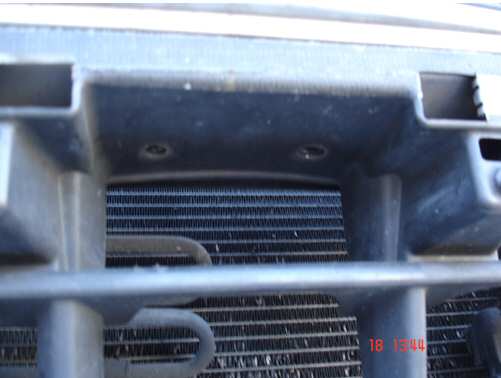 |
Remove the front number plate, the look underneath the top of the plastic grill, in 3 locations you will find 2 plastic clip pins, pull these out with a pair of pliers. On the UK car these are Philips head clips that are turned 1/4 to release |
 |
2 clips by power steering cooler |
 |
2 clips by gearbox oil cooler |
| Working from one side of the car remove all of the clips & bolts that secure the front row of trays to the bottom of the wings & bumper, pull the trays clear of the car | |
| Reach up from underneath & unplug the fog light connectors | |
| Unscrew the indicator units & pull free from bumper (Twist out the electrical connector & bulb then push them back through the bumper) | |
| Open the bonnet & remove the bolts that hold the top of the bumper to the chassis (Follow the line of the black rubber strip) | |
| NOTE: For this next part you may want someone to help to avoid scratching the paint work Pull the bumper square from the front of the car, be careful not to pull at different angles & scratch the paint work When the bumper is removed you may want to stick some masking tape on the bumper to wing mating surface to avoid scratching the paintwork when re-fitting the bumper |
|
| Re-fitting is the reverse of removal |