www.gt4dc.co.uk http://gt4dc.co.uk/forum/ |
|
ST165 project ... http://gt4dc.co.uk/forum/viewtopic.php?f=1&t=5104 |
Page 1 of 7 |
Author: | k1ano [ Tue Aug 09, 2011 12:24 pm ] |
Post subject: | ST165 project ... |
I thought I would post my ST165 project (which I am updating on the OC) on here as some of you may be interested in the good old 'classic' This was post 1 ... So my latest GT4 story starts ... As some of you know I have owned a GT4 of one sort or another continuously since 1995, including an ST165, and am also old enough to have seen all the GT4's compete in WRC rounds ... You could say I'm a fan ... I went through a spell of owning a Clio V6 for 5 years, which was/is a great car, but I always had an RC as a daily driver and so didn't use the Clio as much due to the fun I got in the RC - ironic eh !? Anyway I sold the Clio a few weeks ago and started looking round for a replacement. I considered all sorts of cars including Nobles, TVRS, VX220, Evos, Subarus WR1/UK STI, Lancia Integrale, RS200 replica, Colty Lancer EX2000 etc. but for some mad reason came back to GT4's - specifically an ST165 and so decided to buy Wiggys ST165 ... I had been interested in it in 2009 but had nowhere to put it, the vacated garage solved that problem ... So I am not sure what I am going to do longer term, though I do want to do some more drift days and perhaps some track days so my initial aim is to get it roadworthy and MOT'd and then decide the final goal ... The Repsoll Replica theme is of interest to me but I am not sure I have the dedication that some of you have for this level of detail ... Oh and just a quick word of thanks to Martin and Colin for helping to make this possible ... 
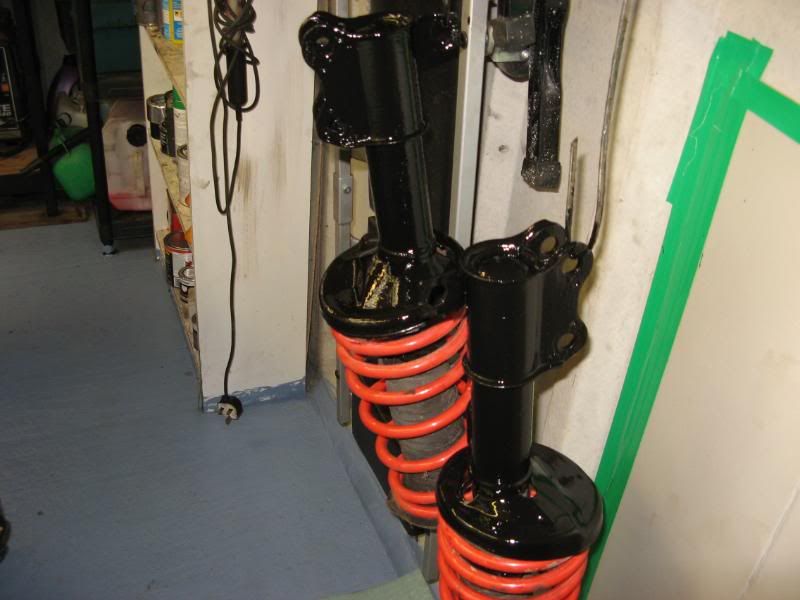
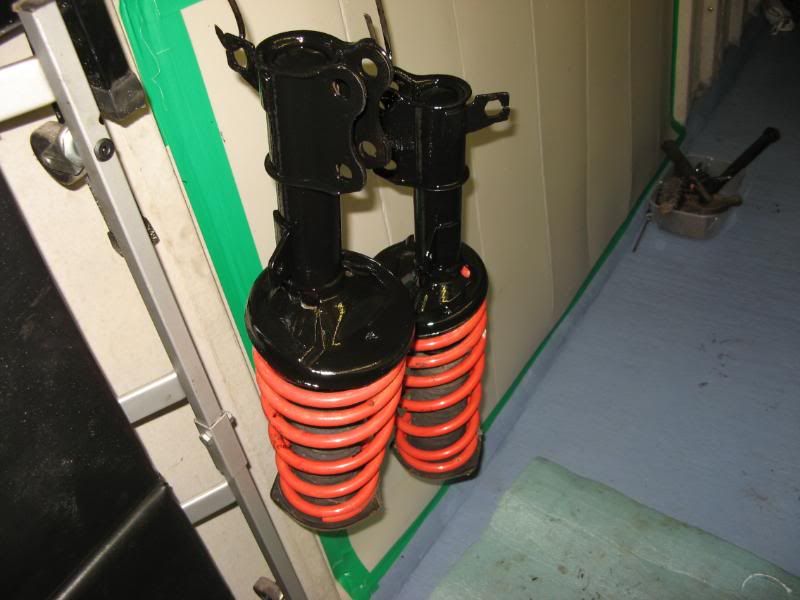
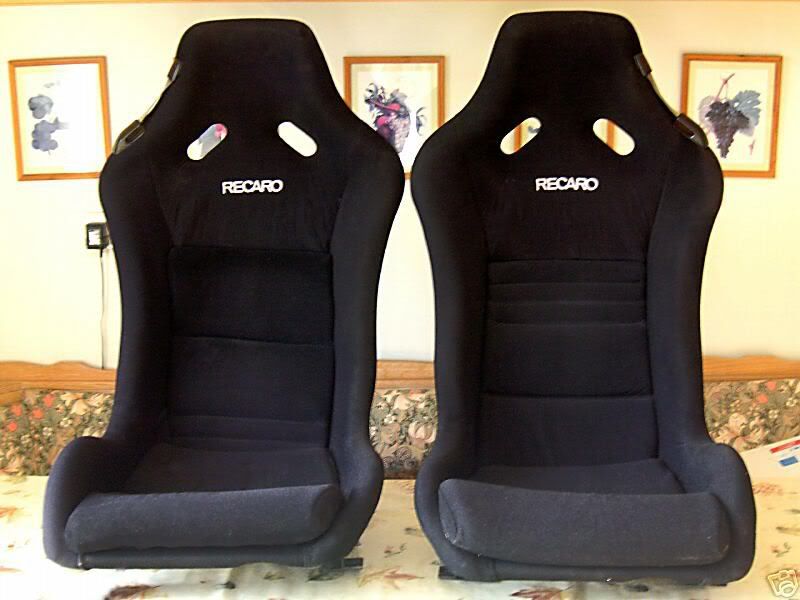
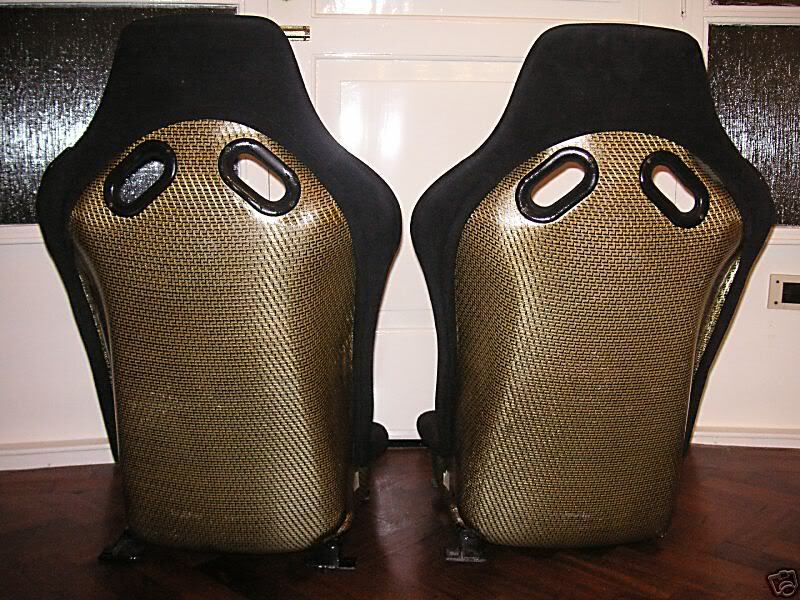
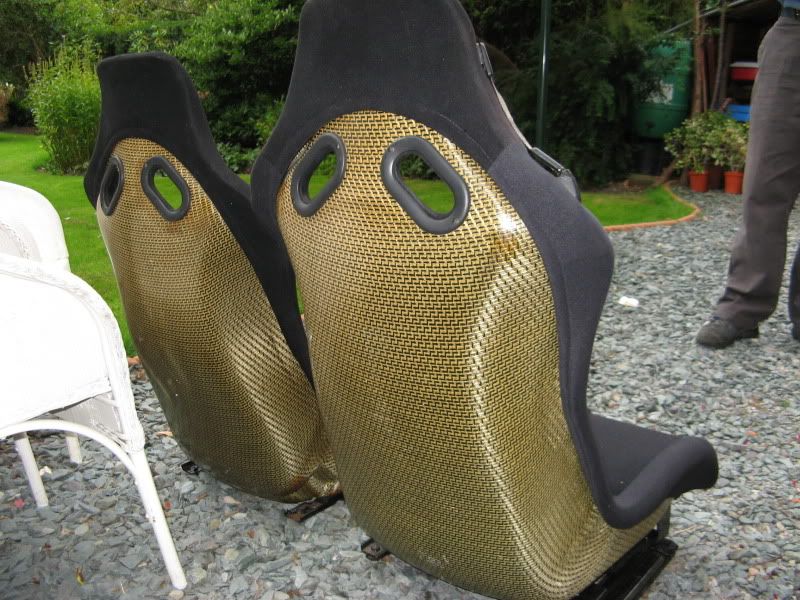
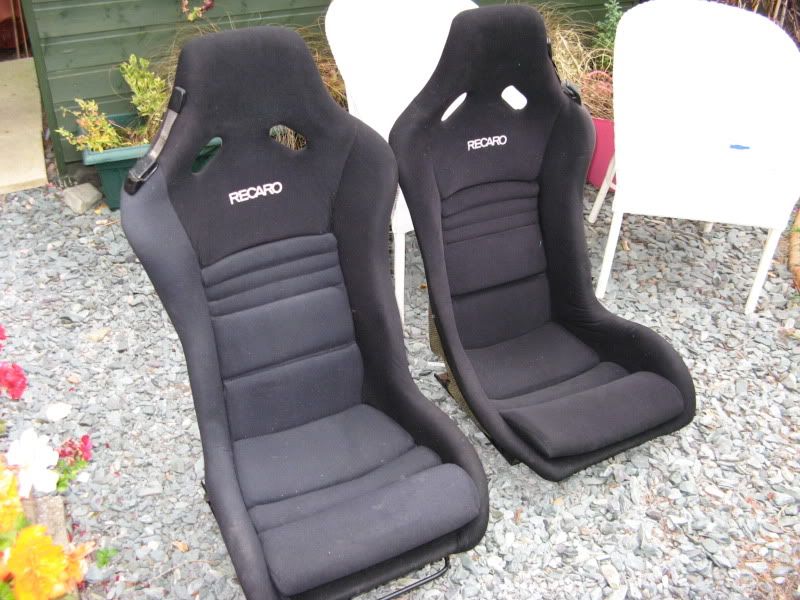
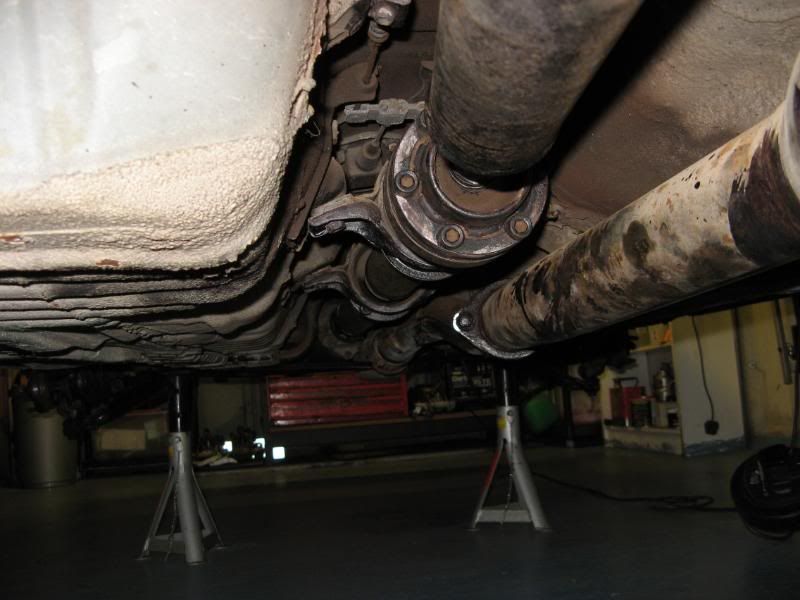
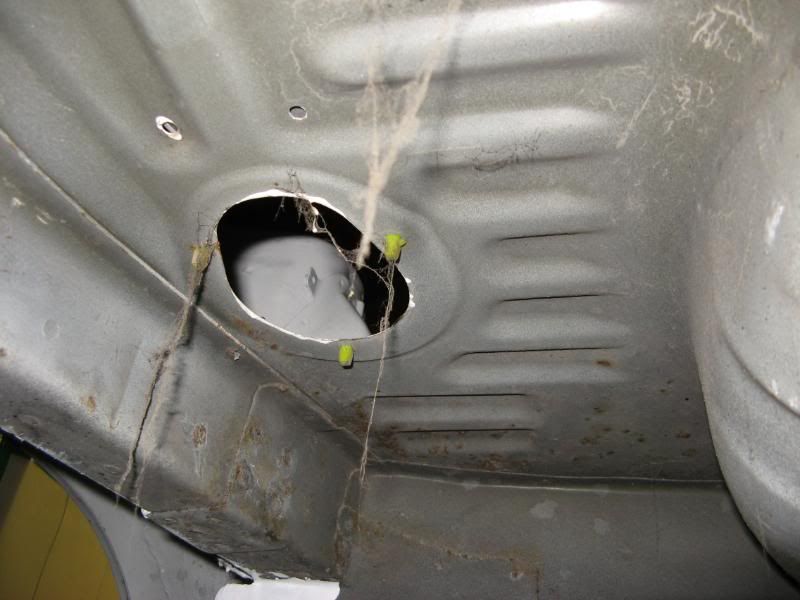
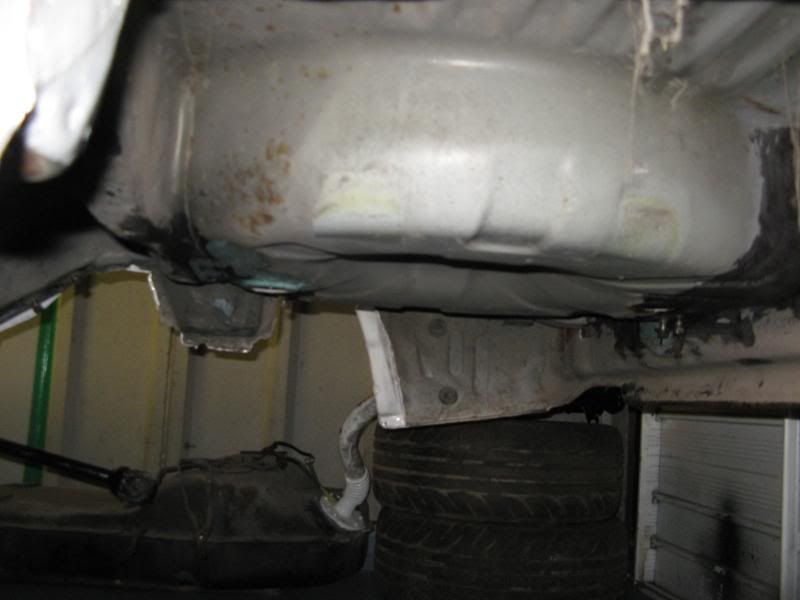
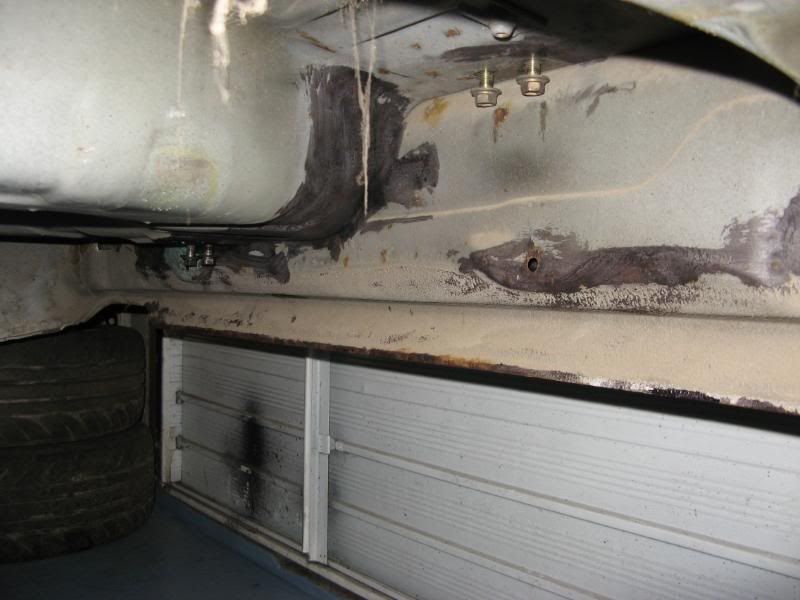
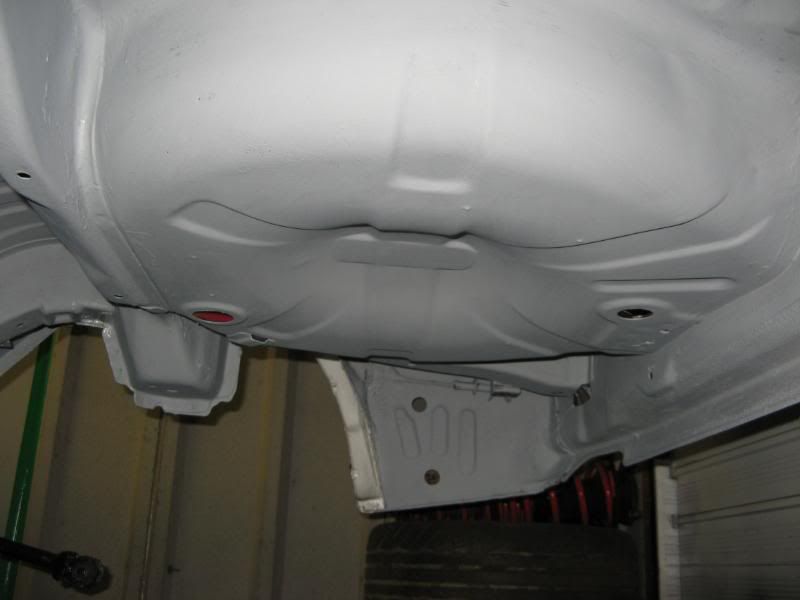
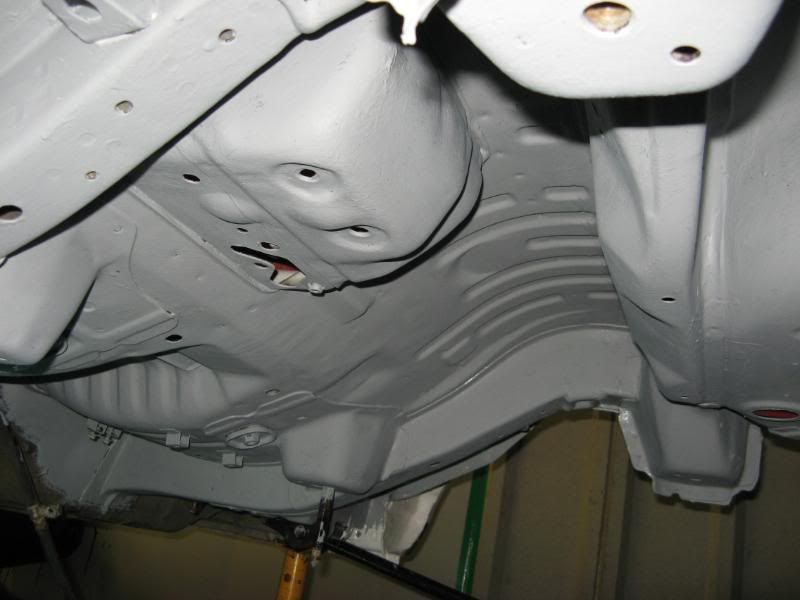
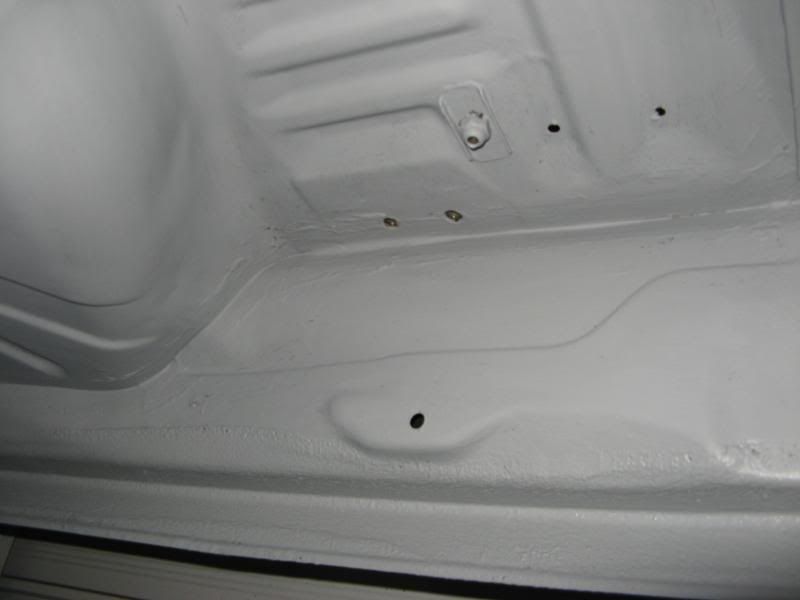
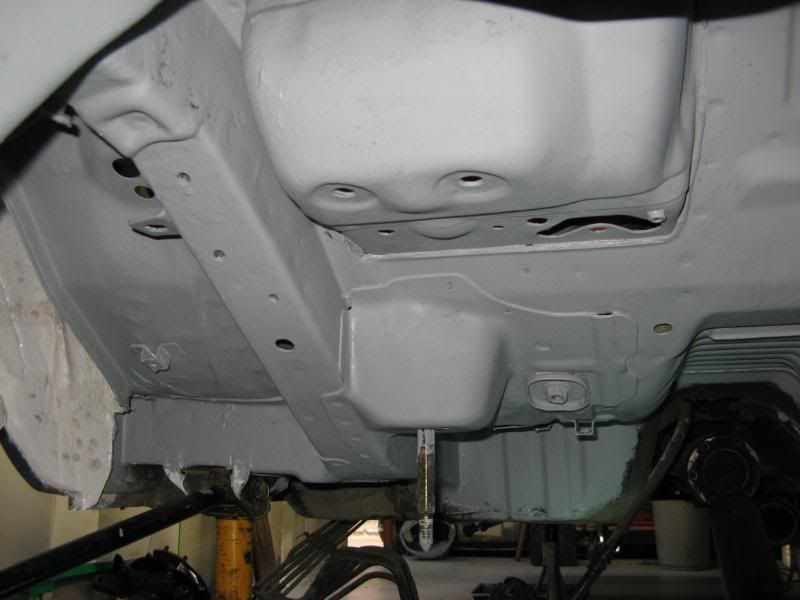
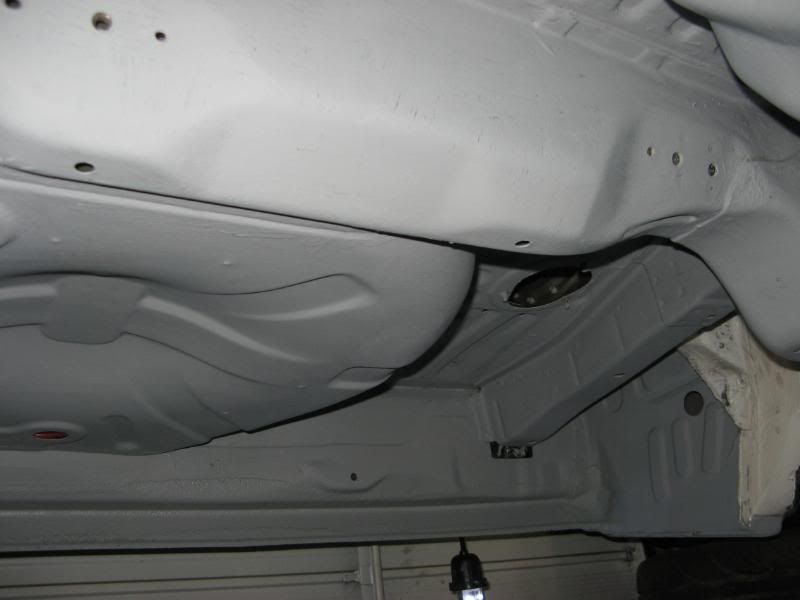
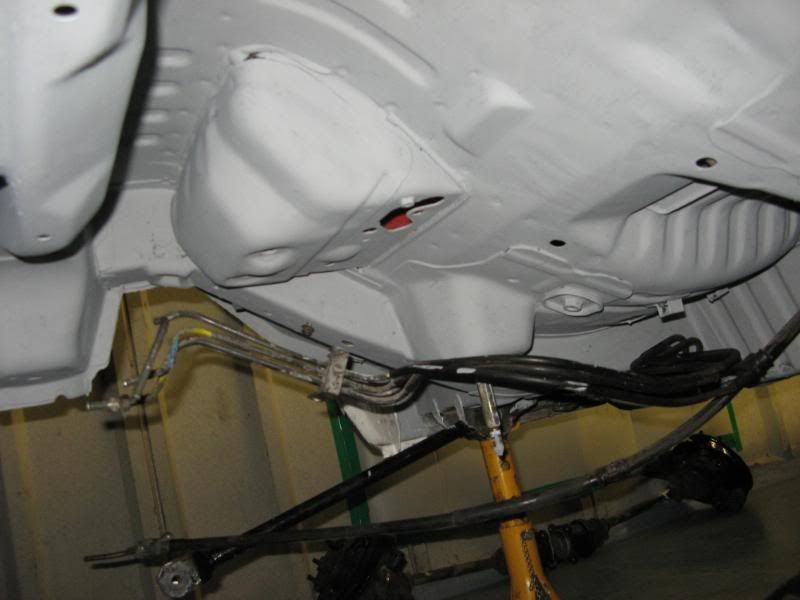
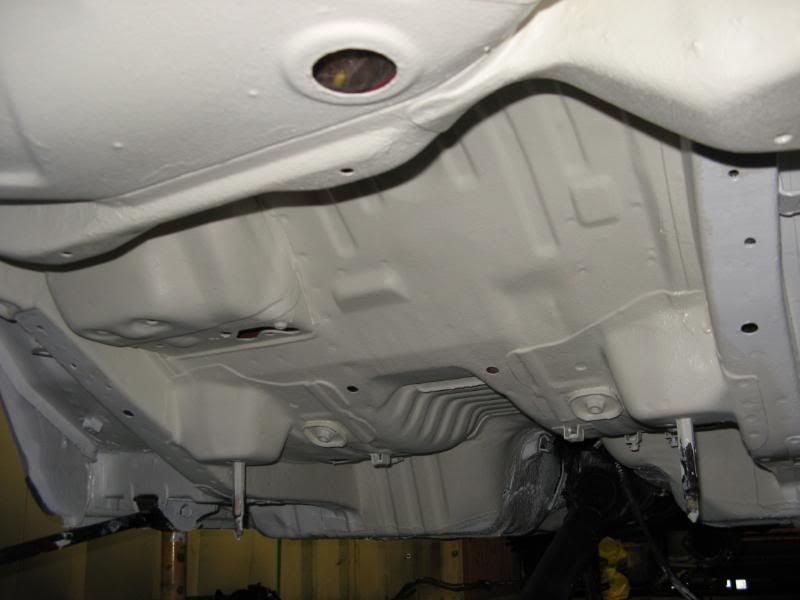
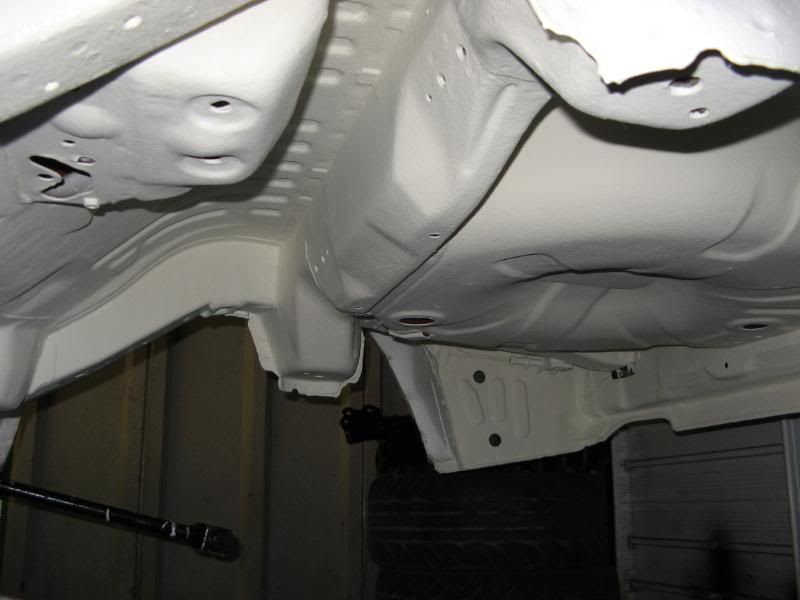
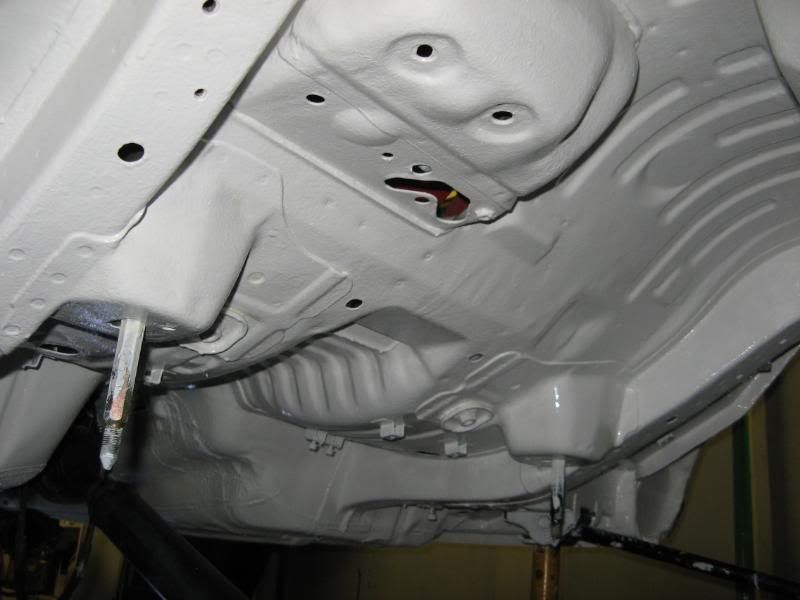
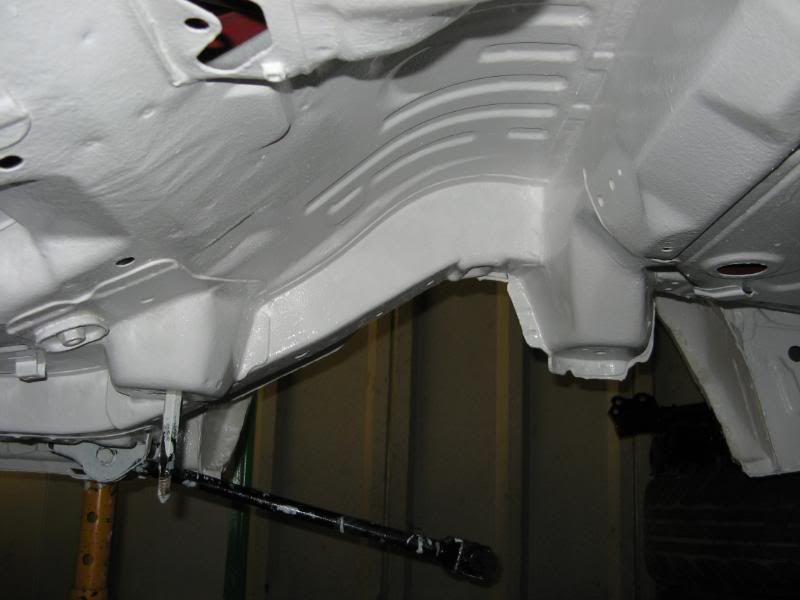
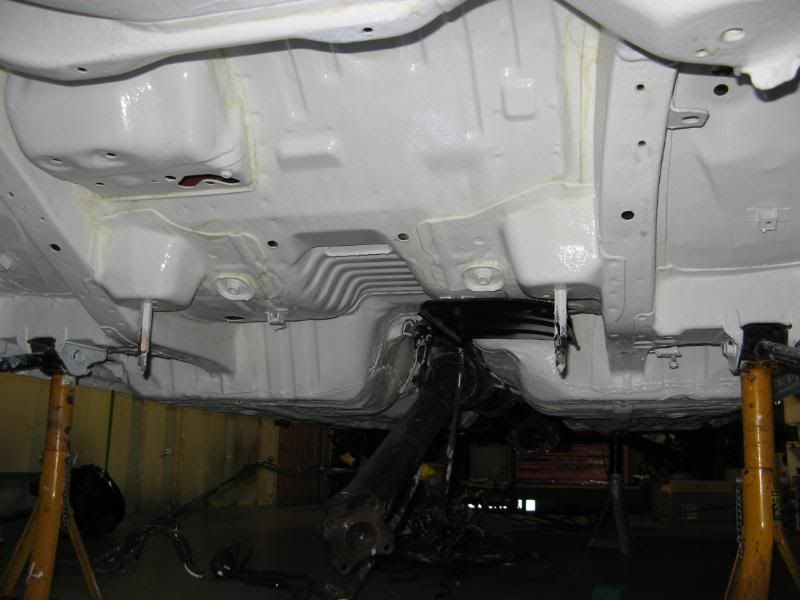
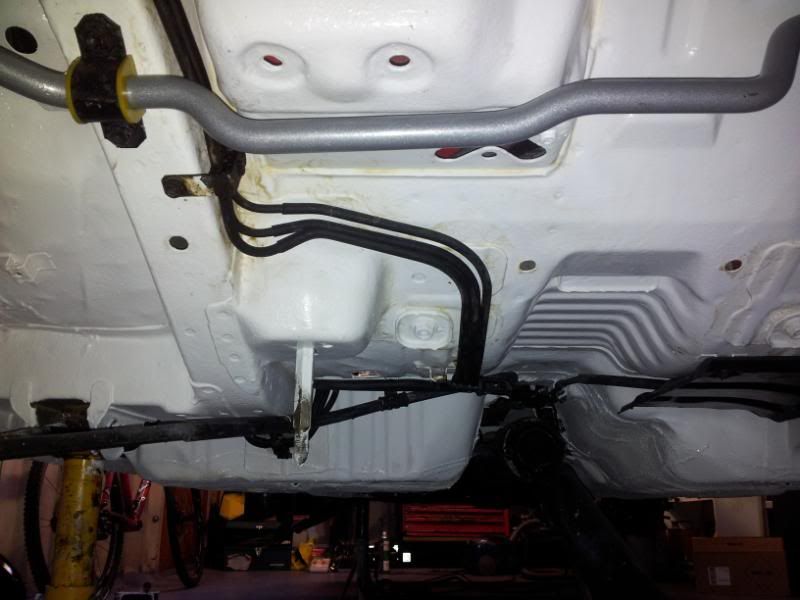
So here are the first set of pictures, pretty much as I got it ... 
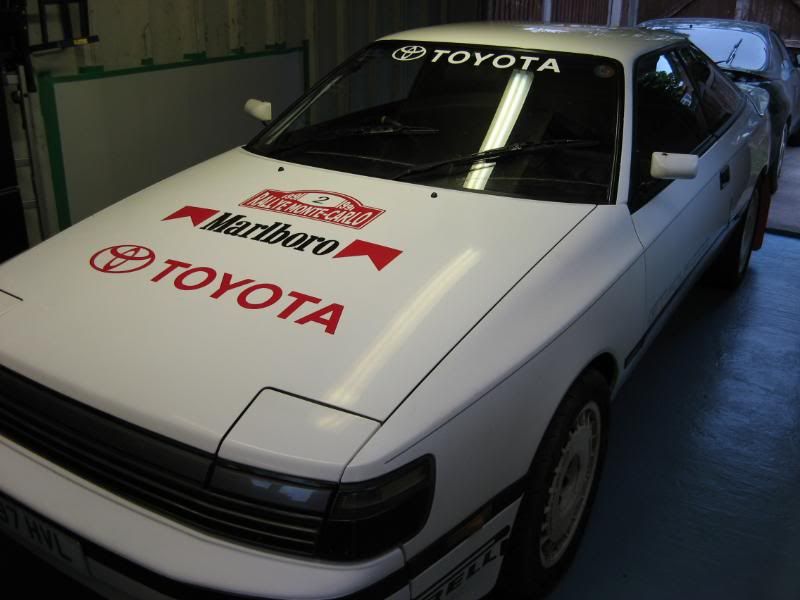
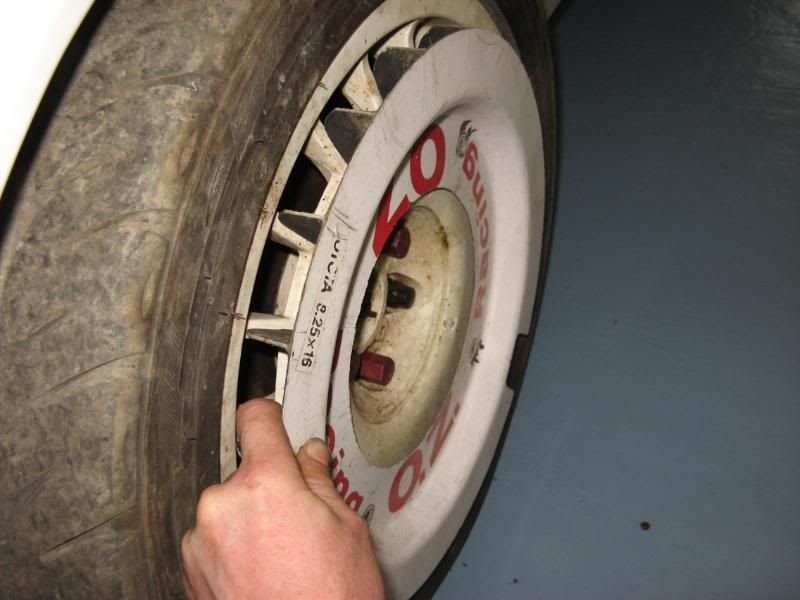
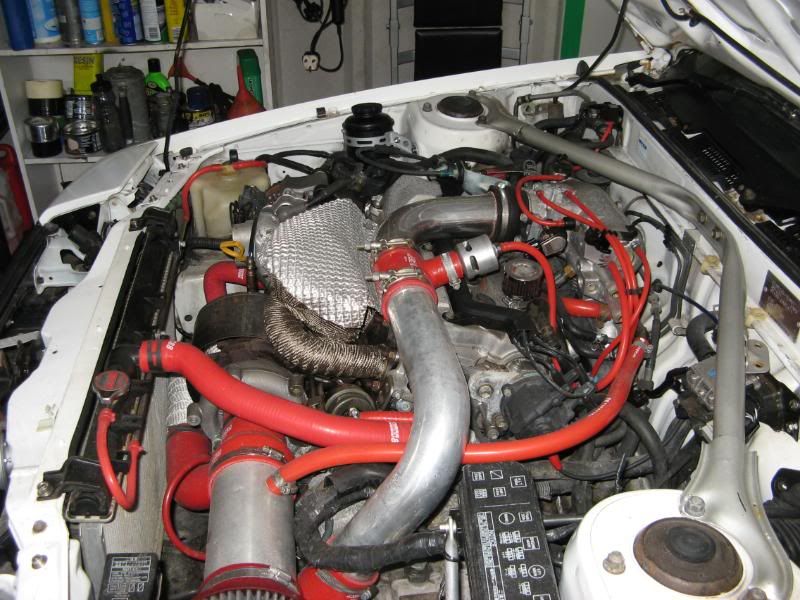
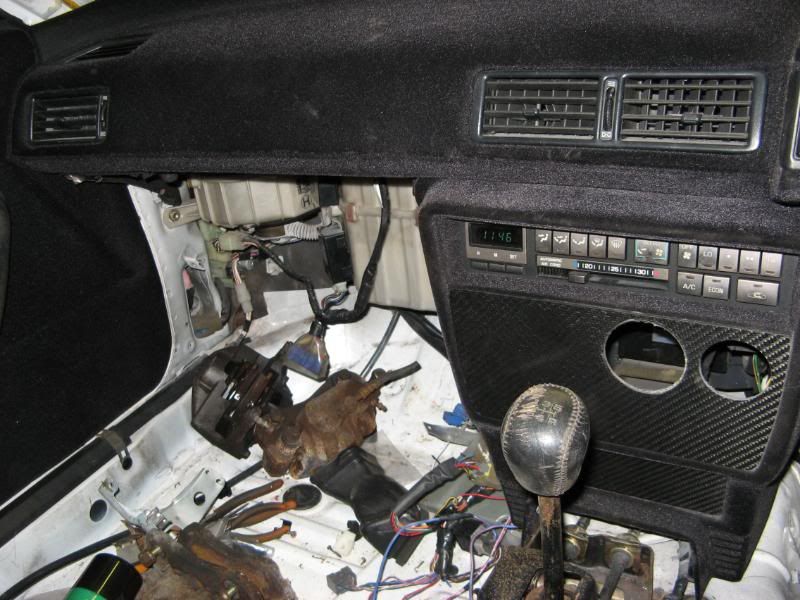
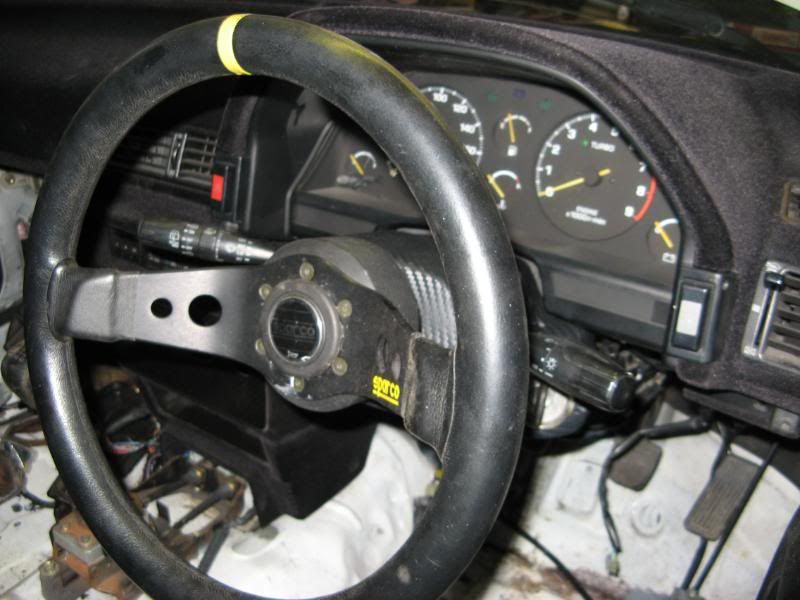
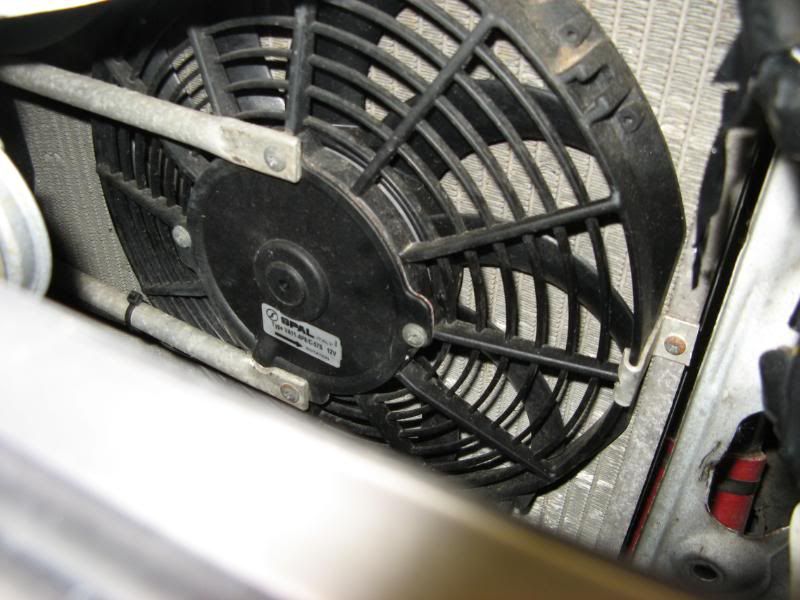
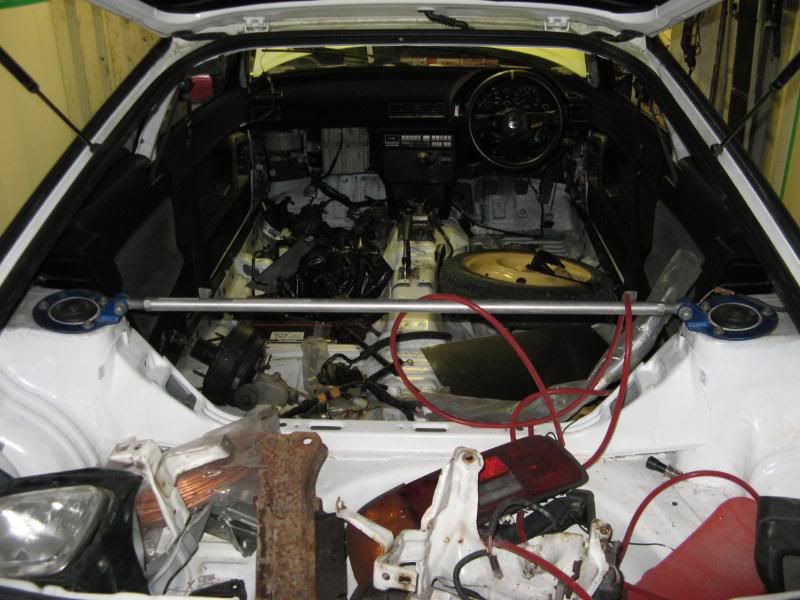
The car is in fabulous condition and reminds me of Richards (alwayssidewayz) car when I saw it a few years a ago at Nobles before he started the TSS, a spark in my mind then gave me a desire to own a 165 as good as that one day - I think perhaps that has come full circle ... Some quick jobs I have done - without pictures for now ... 
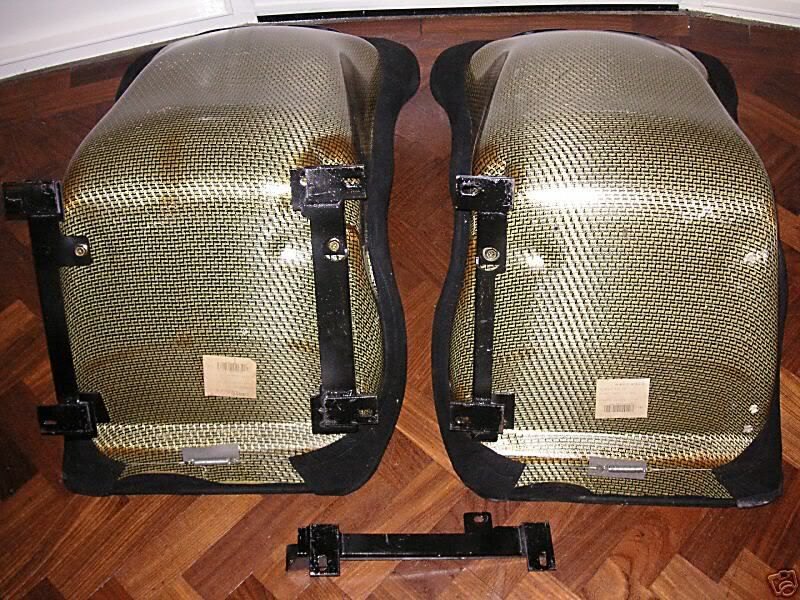
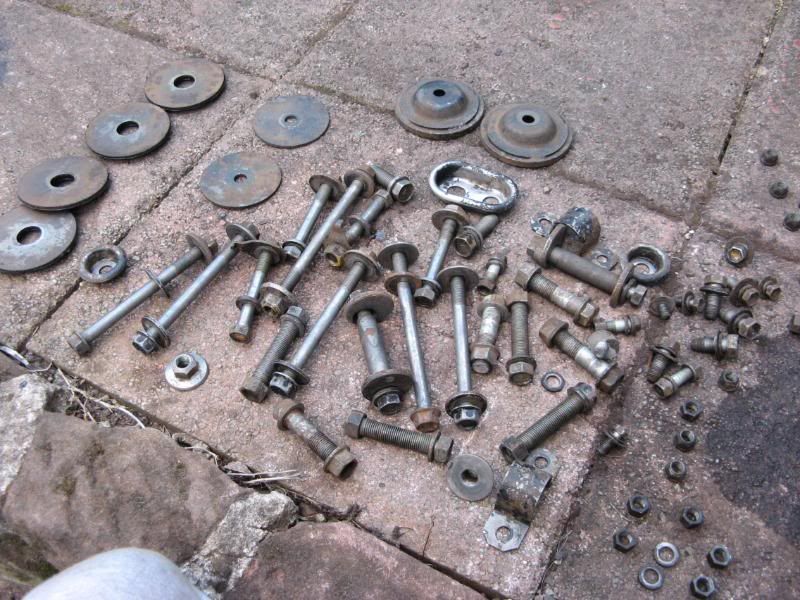
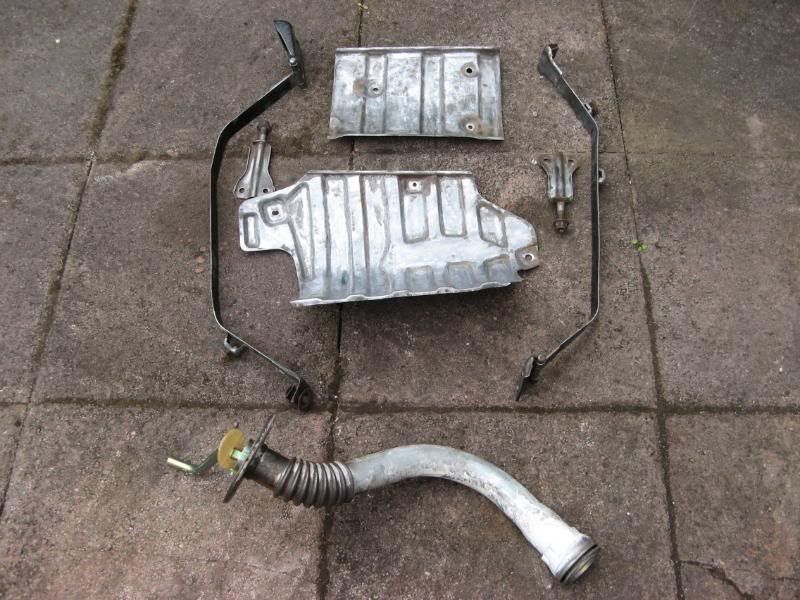
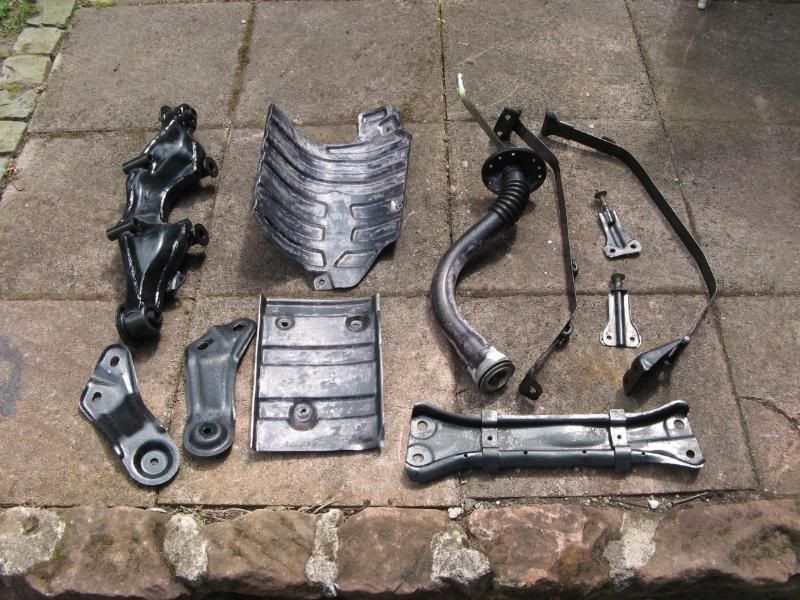
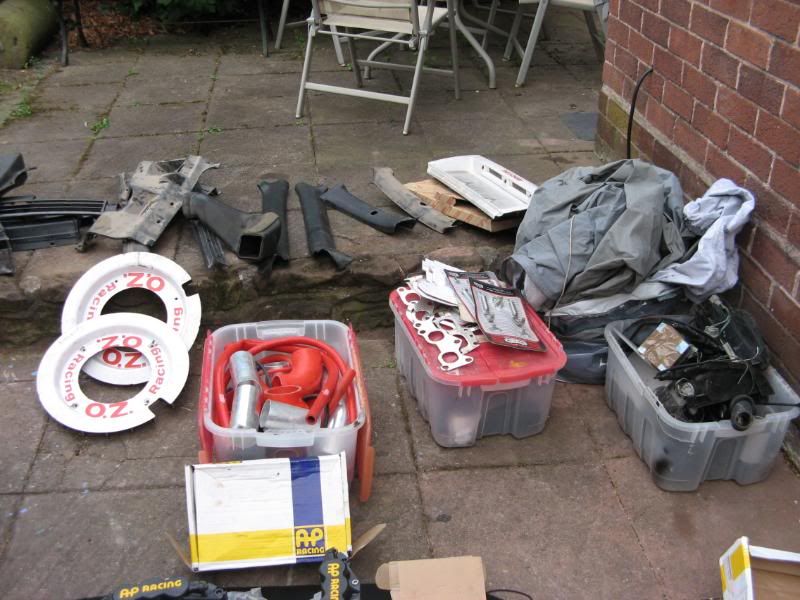
My first job after collection was stripping out the spares ... 
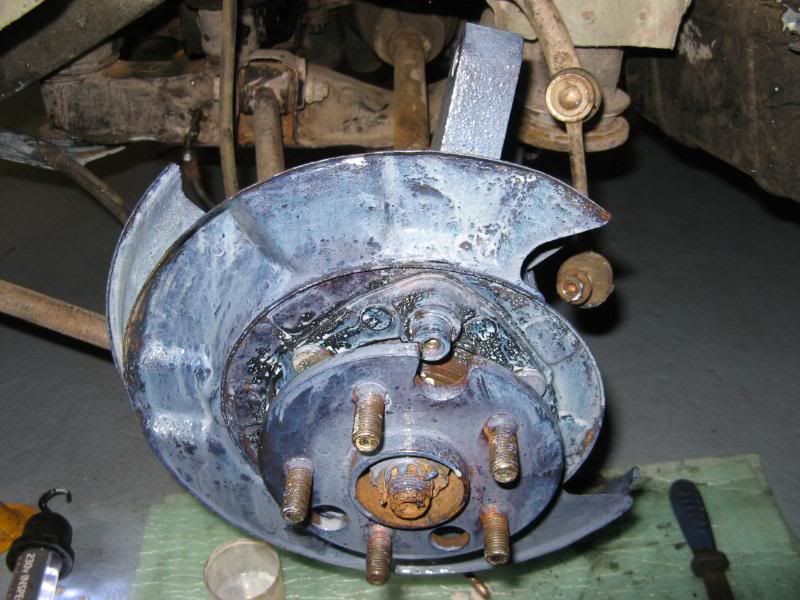
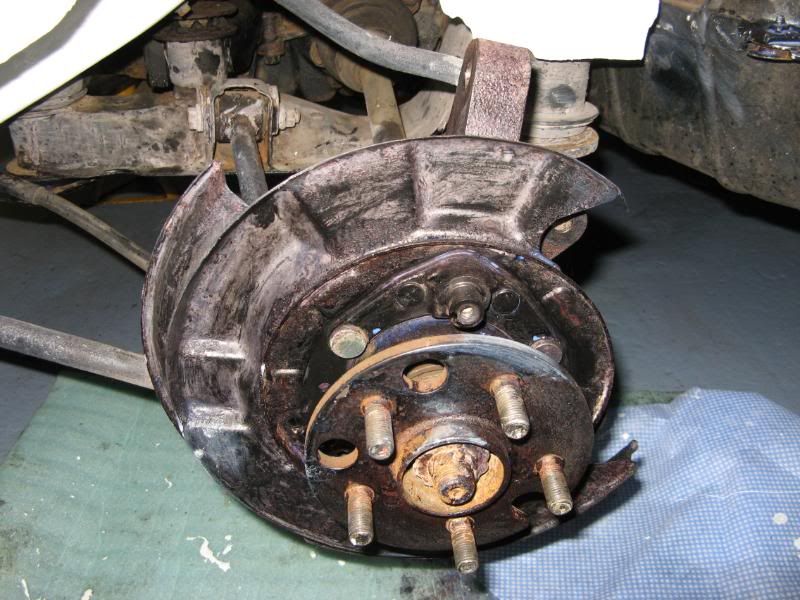
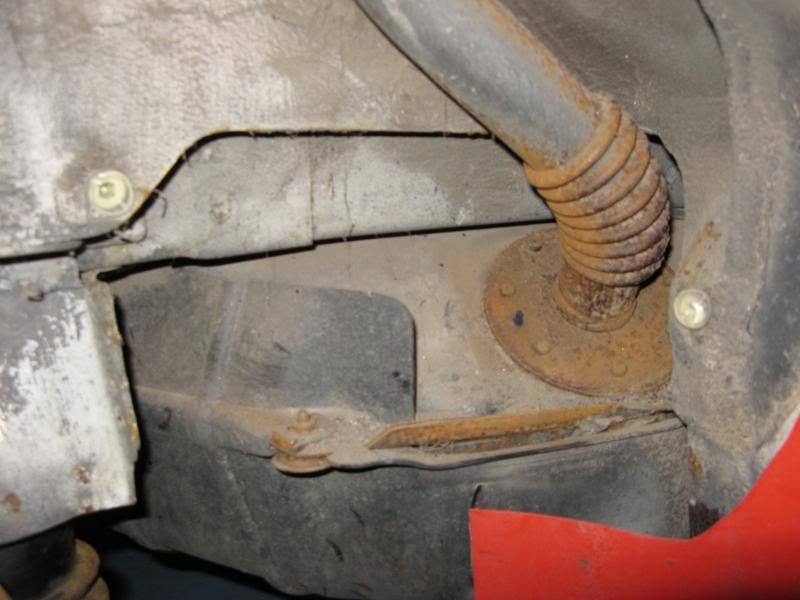
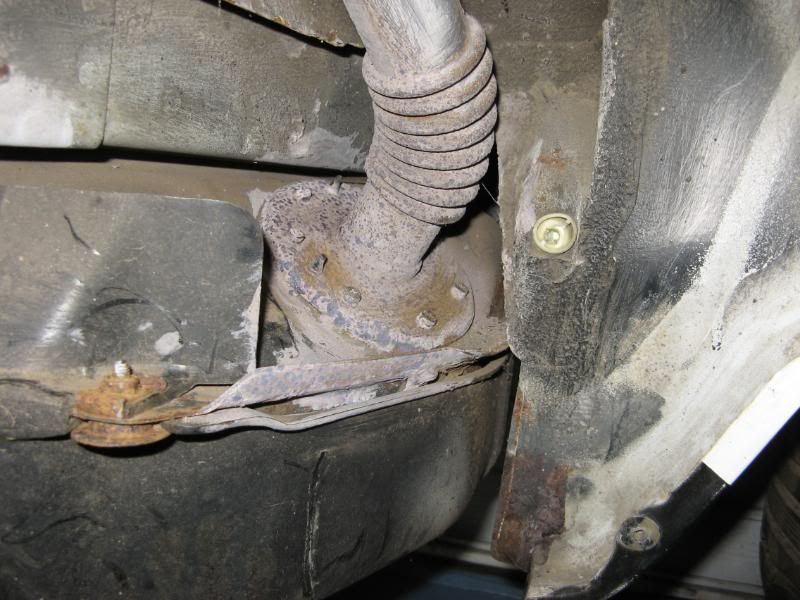
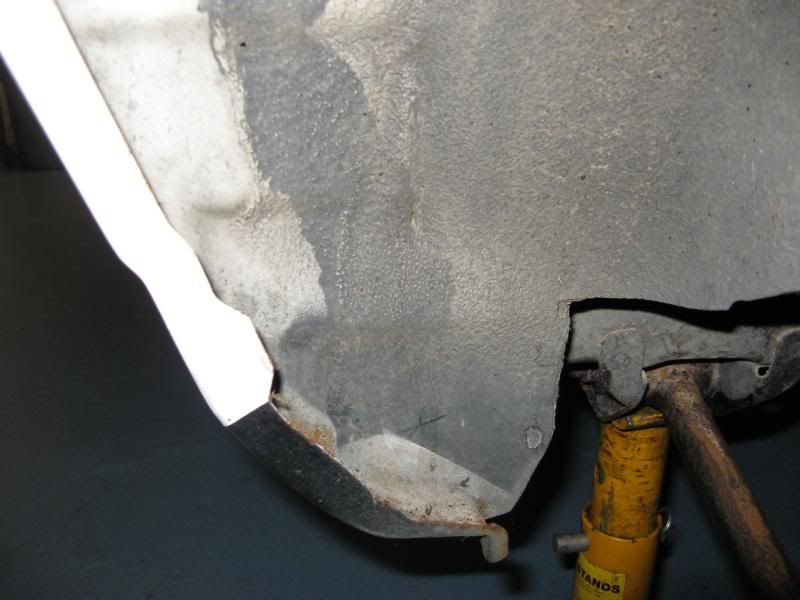
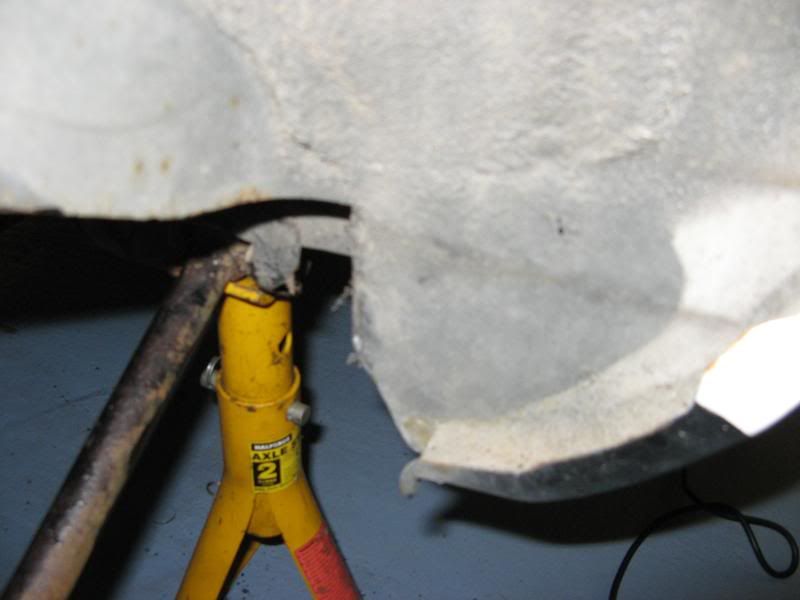
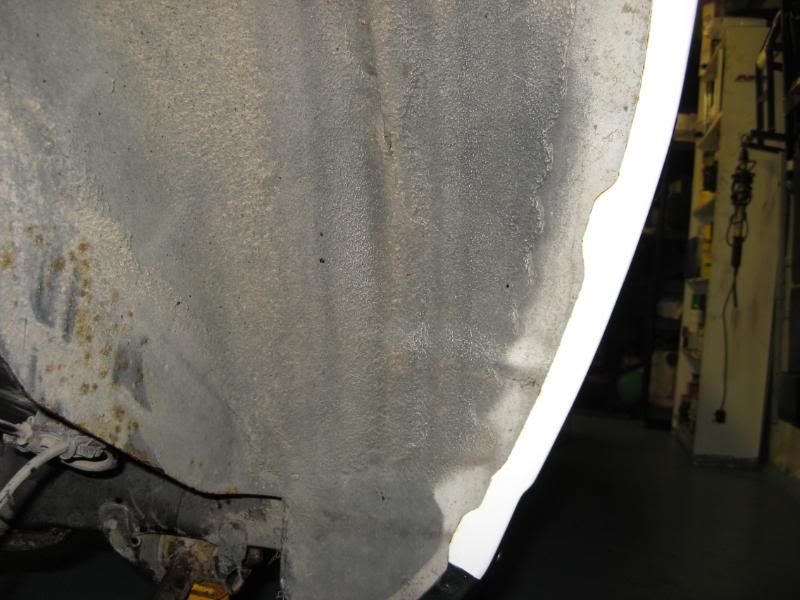
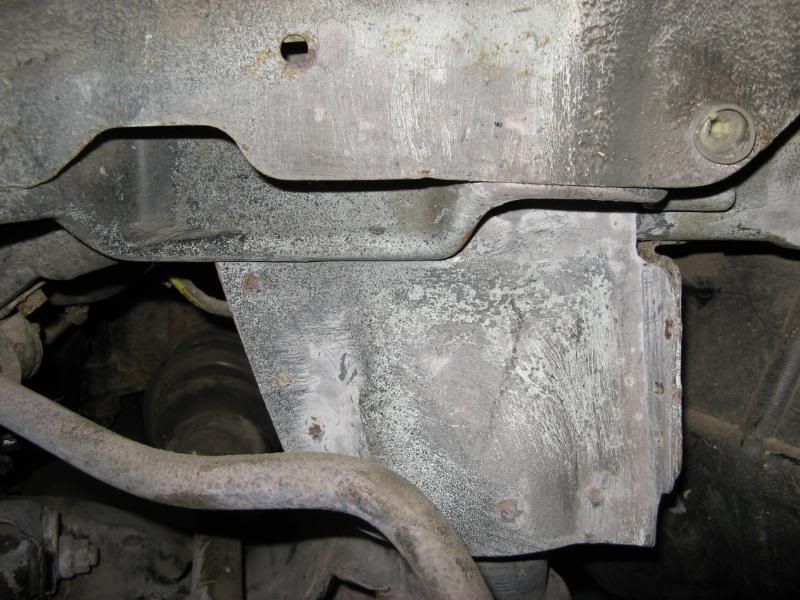
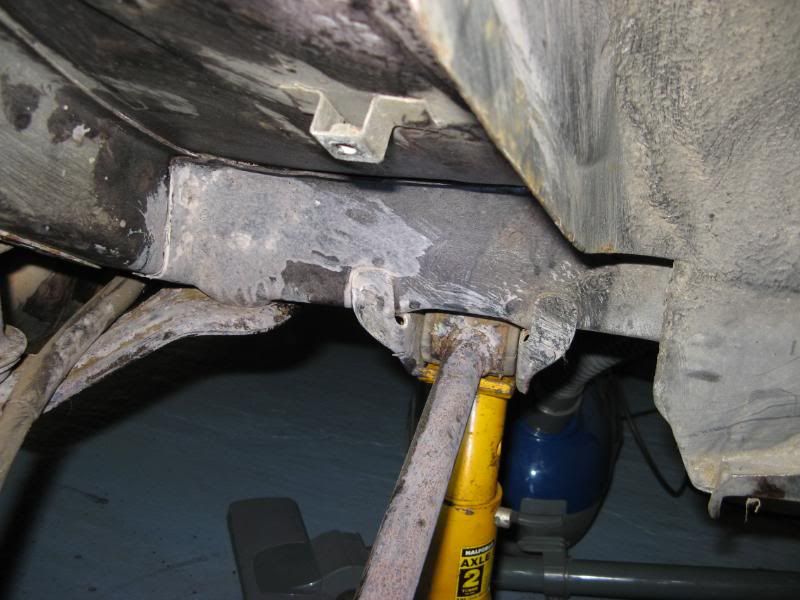
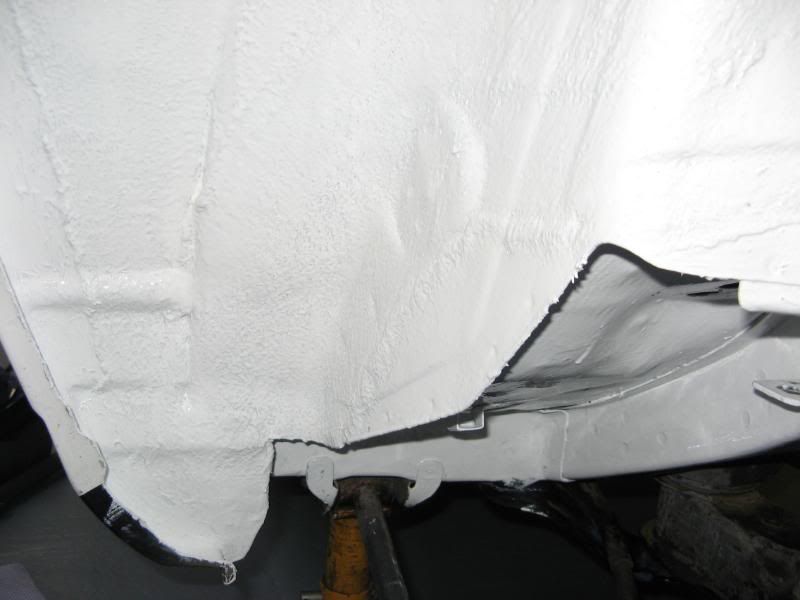
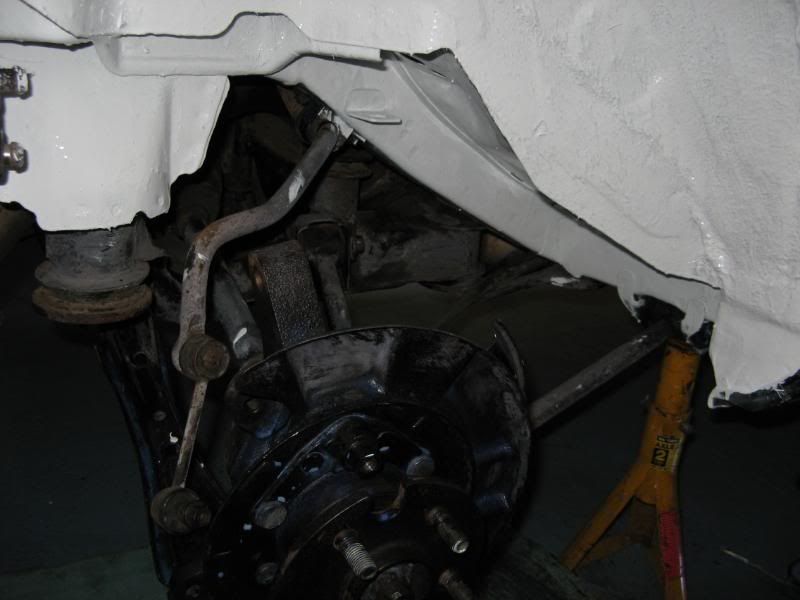
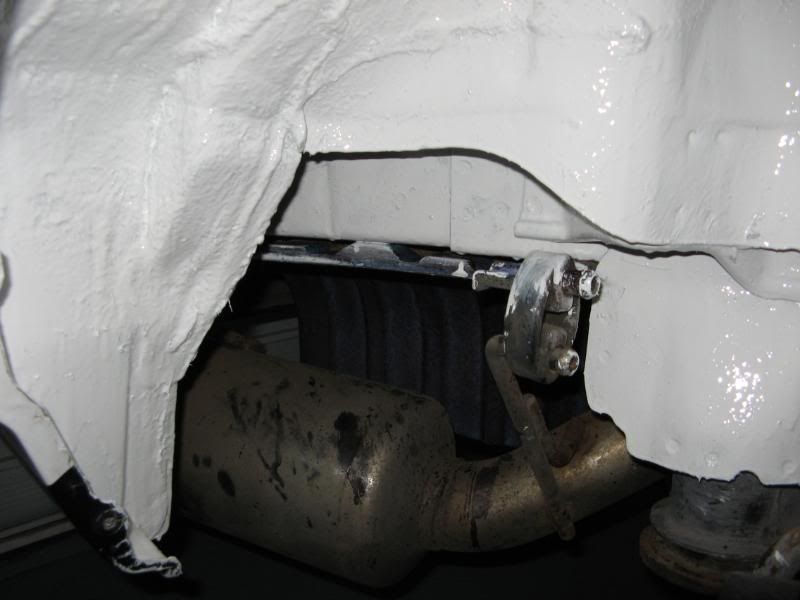
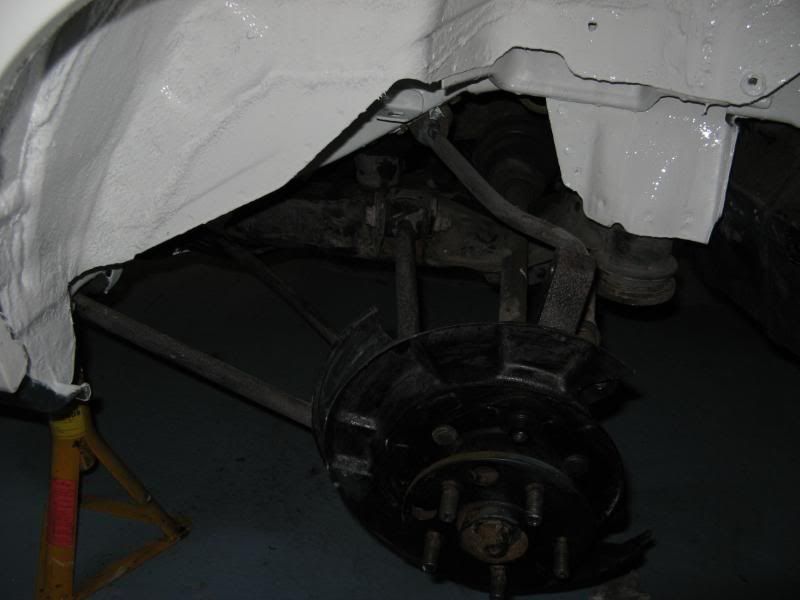
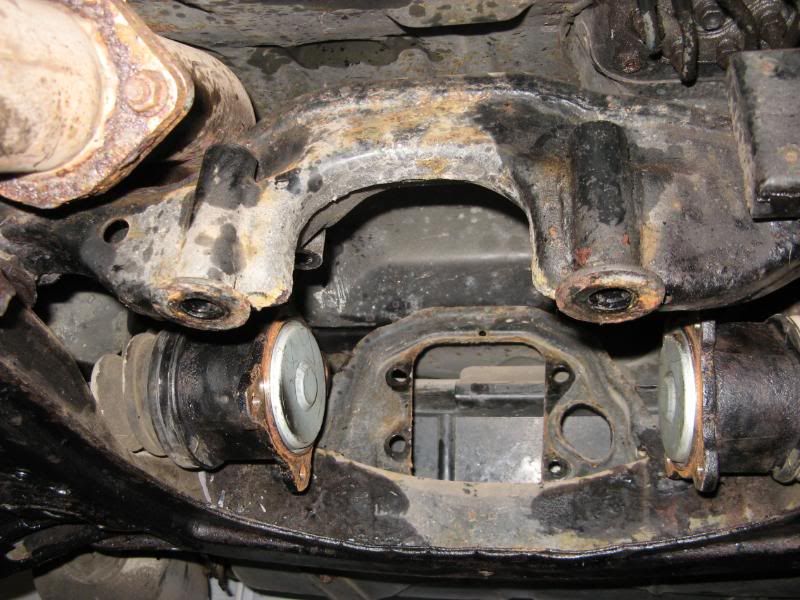
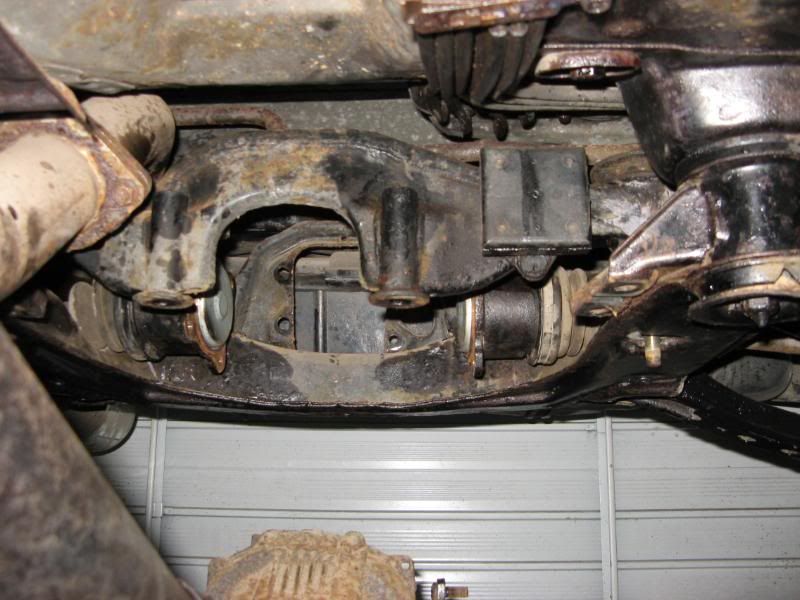
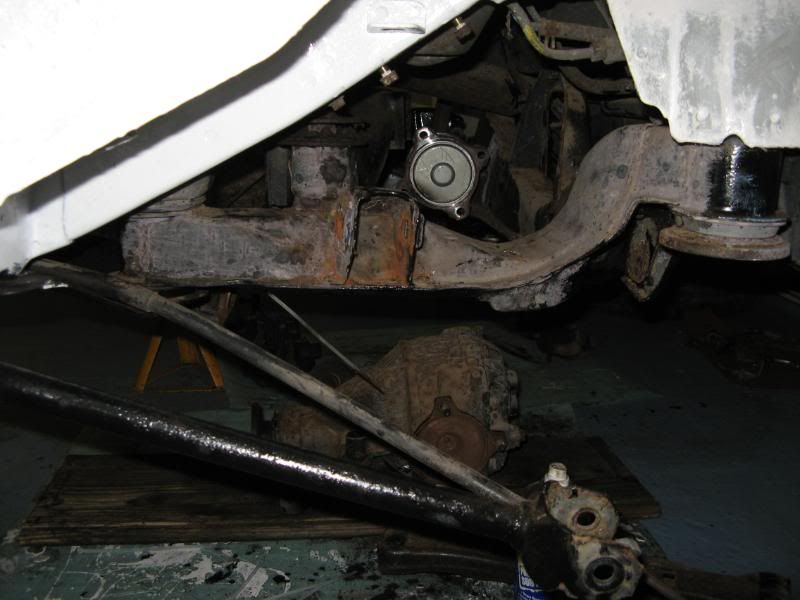
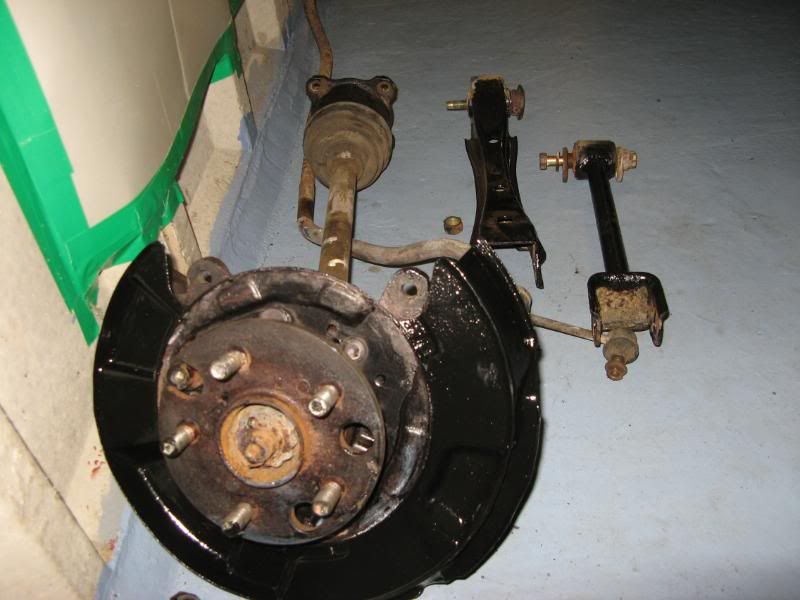
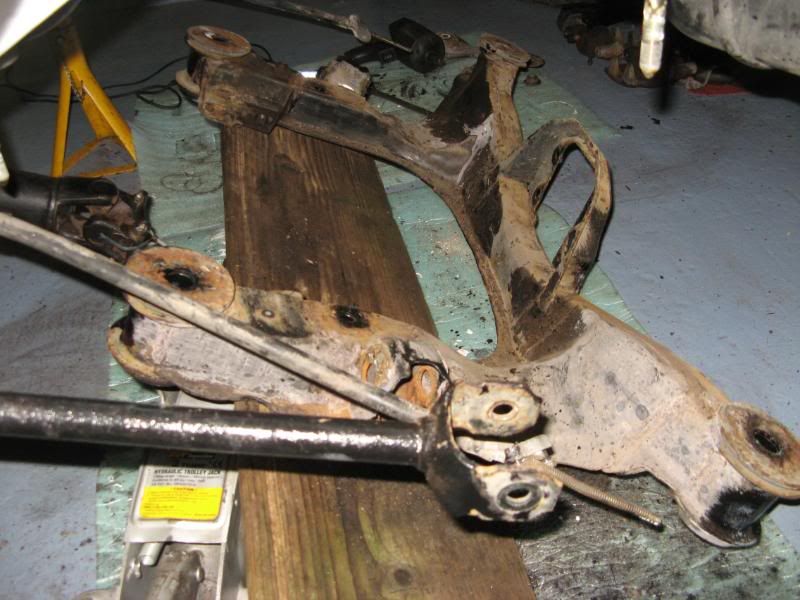
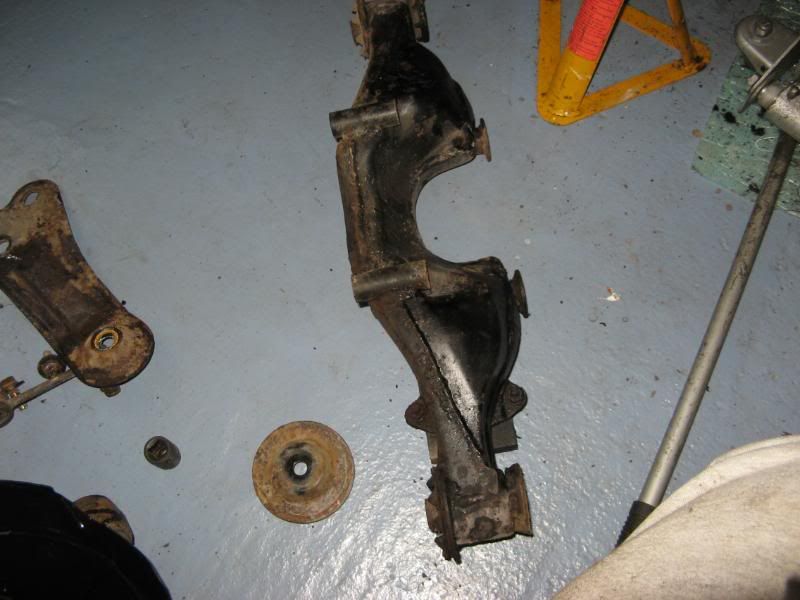
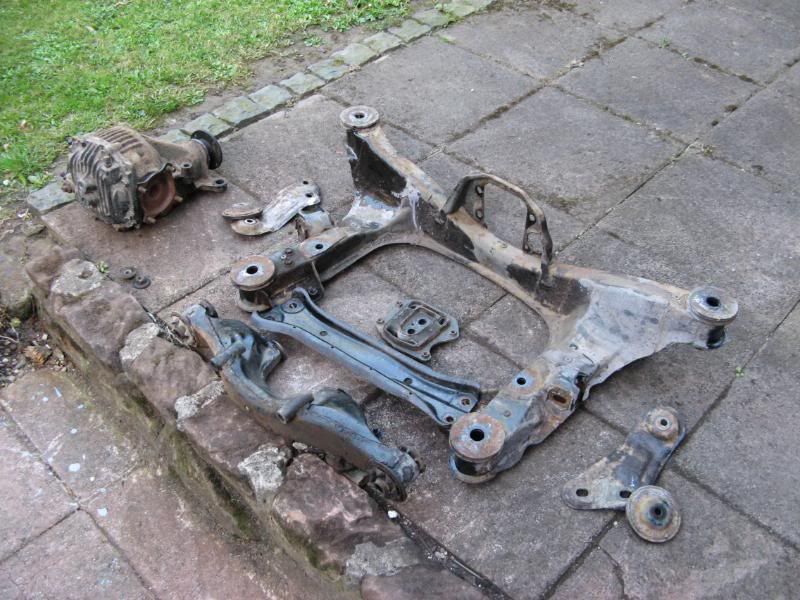
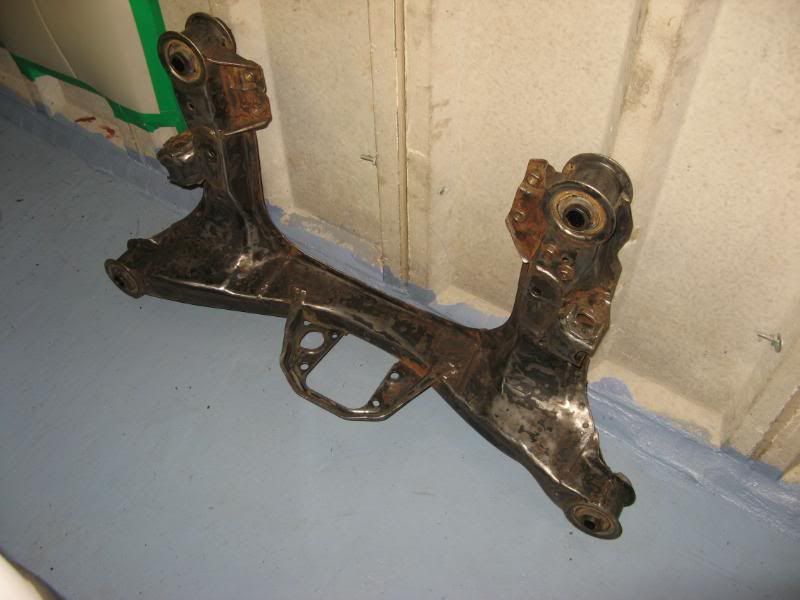
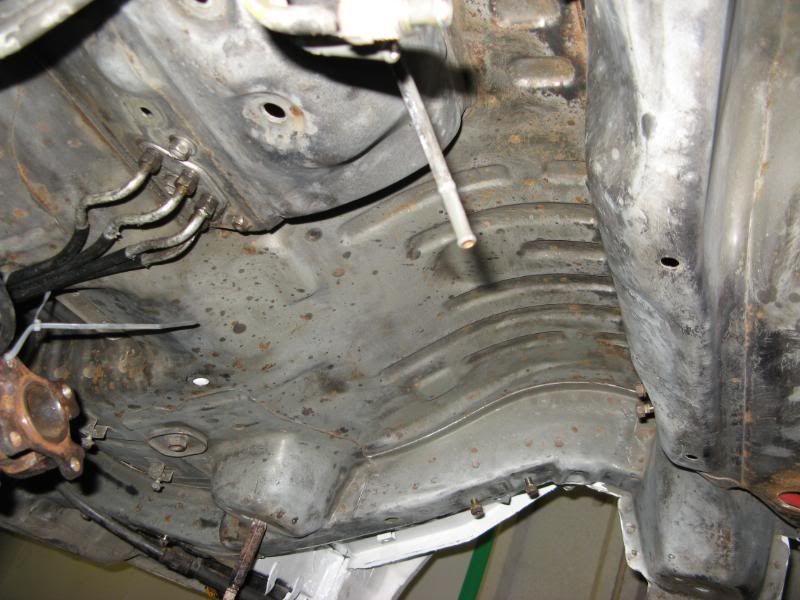
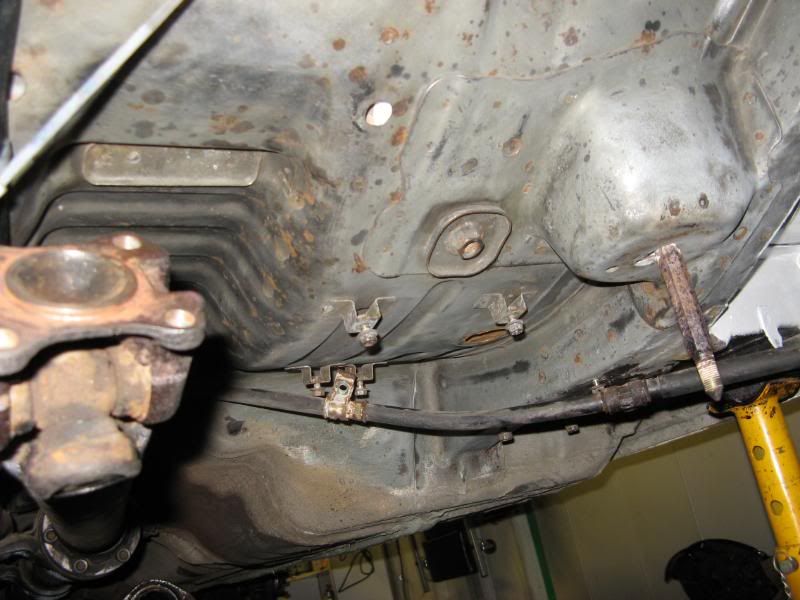
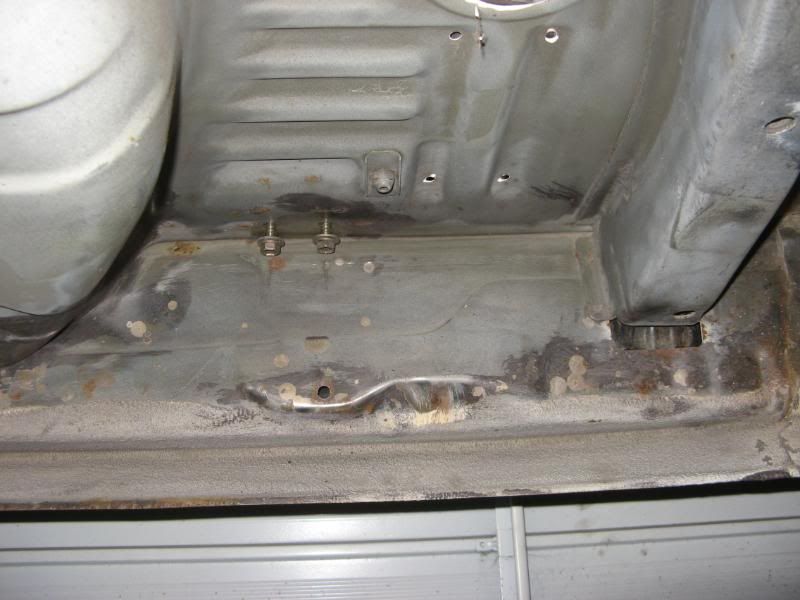
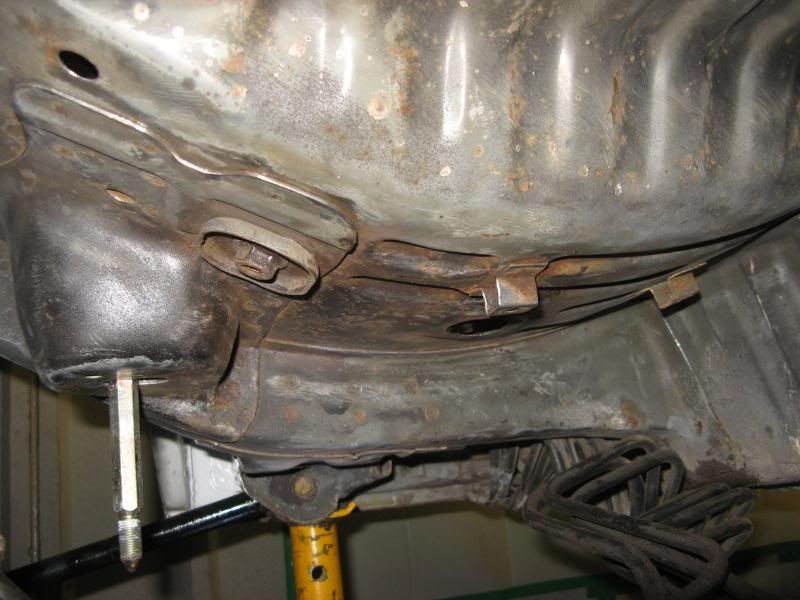
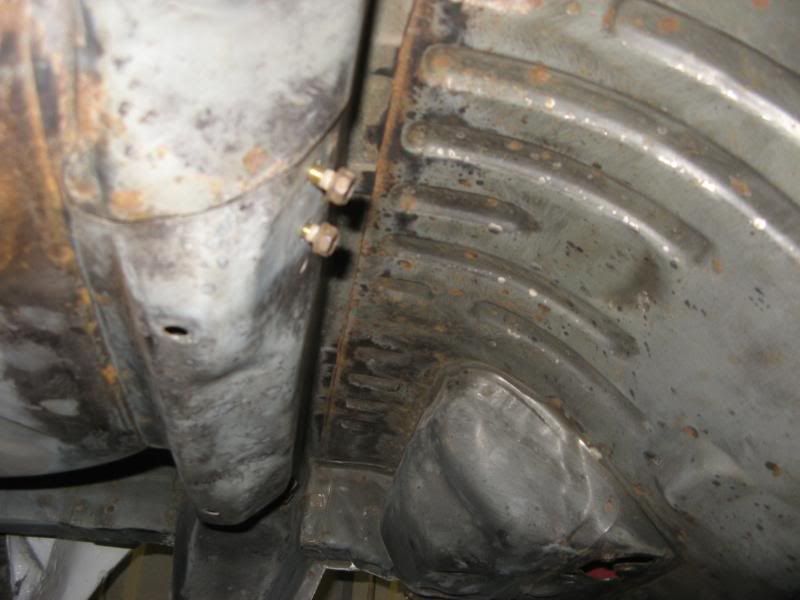
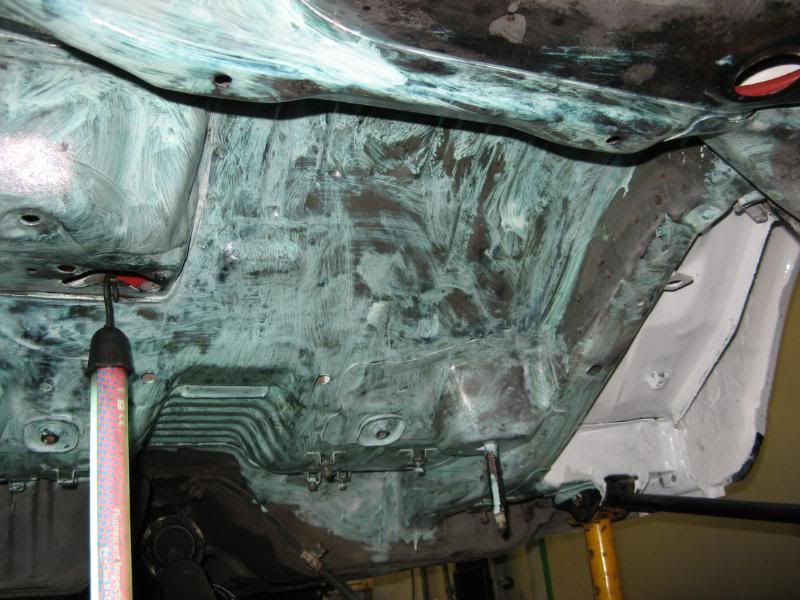
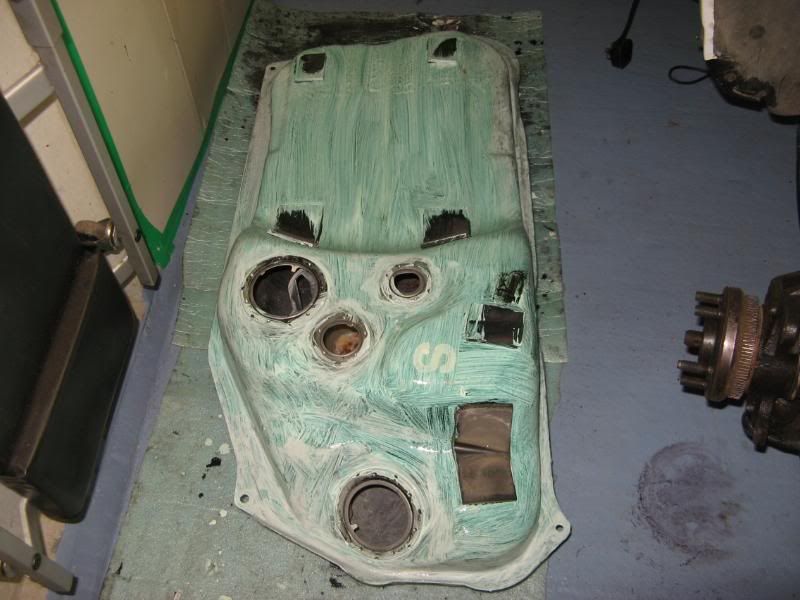
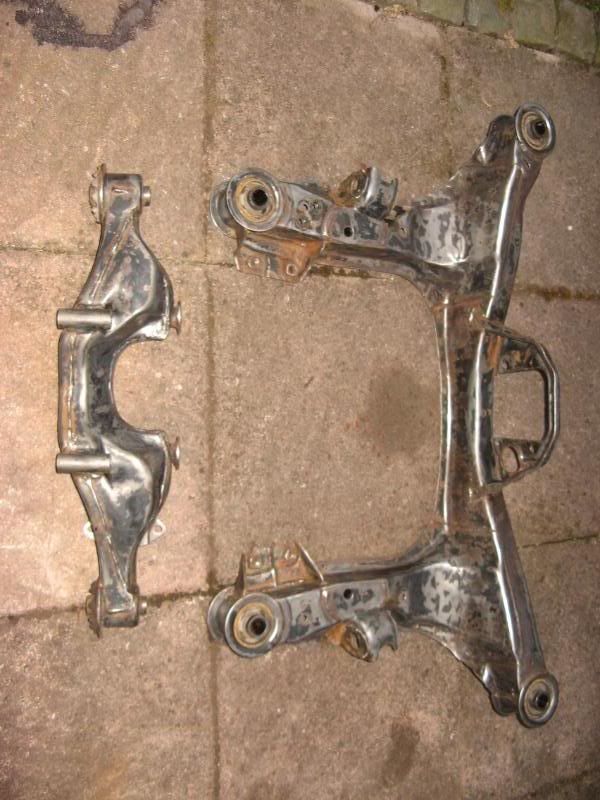
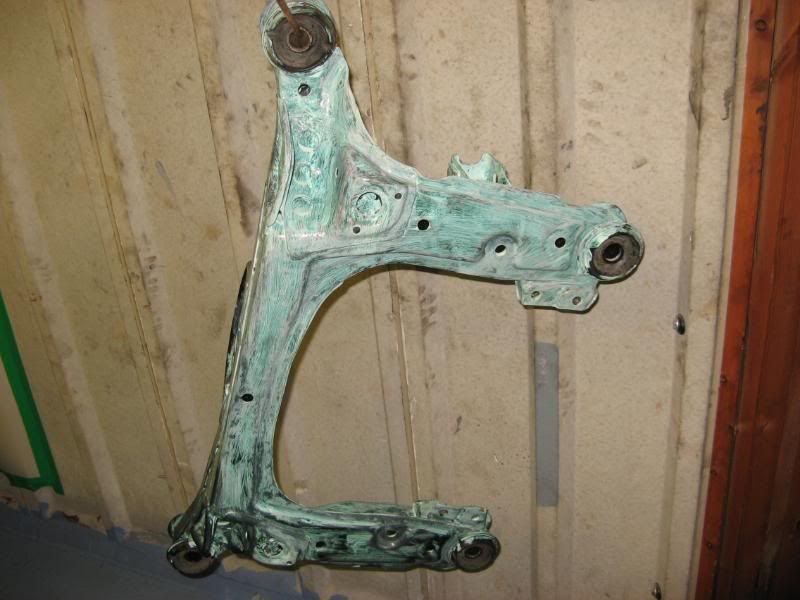
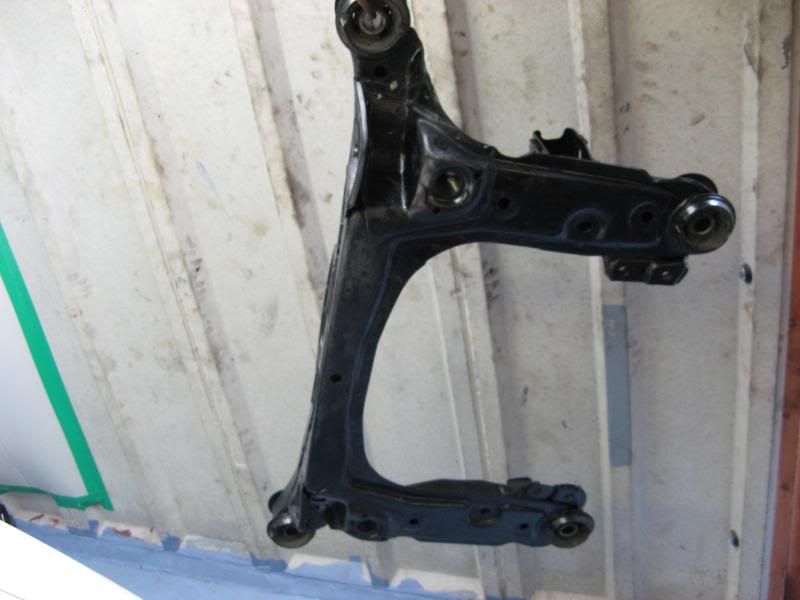
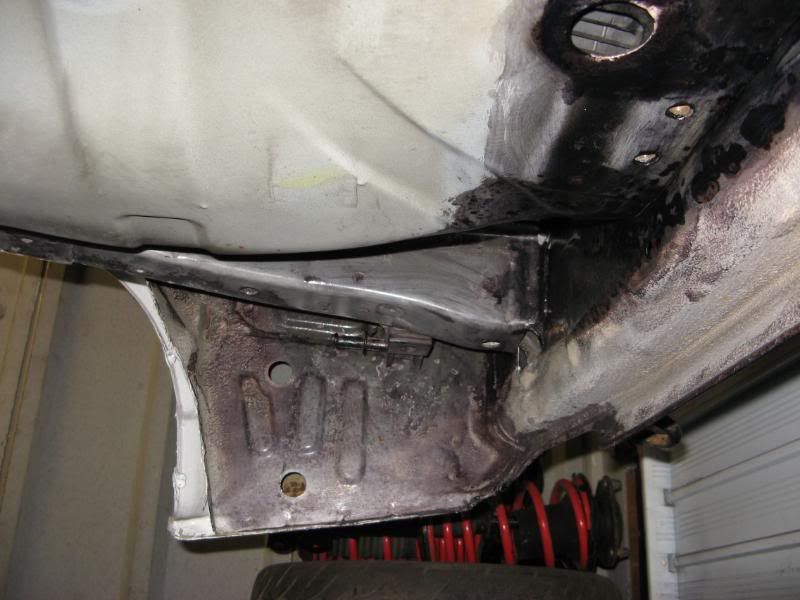
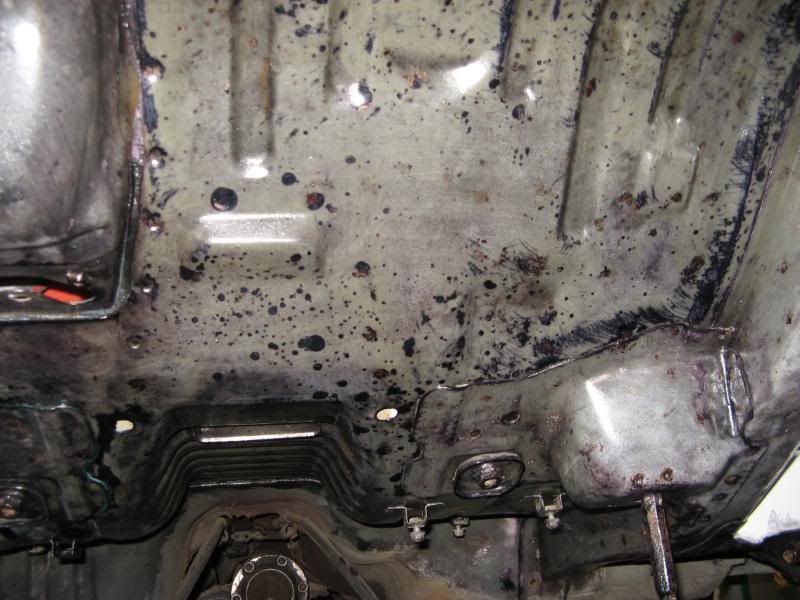
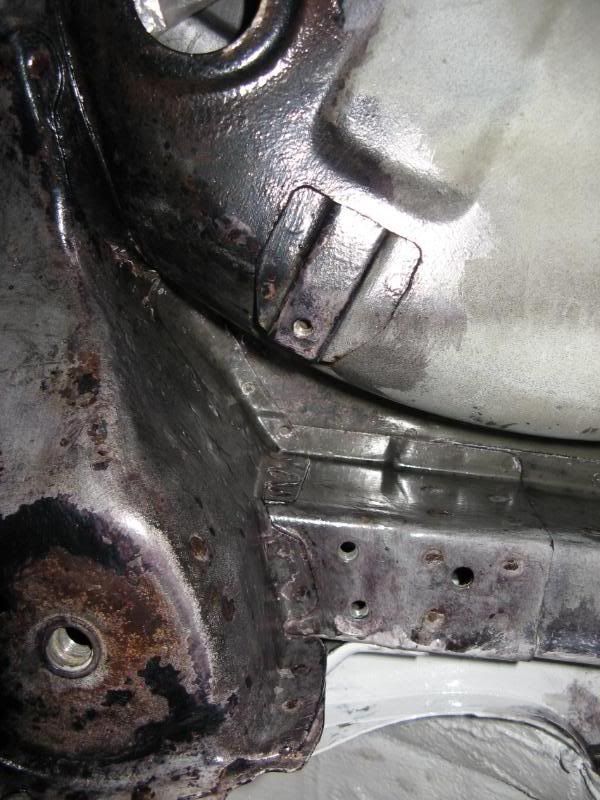
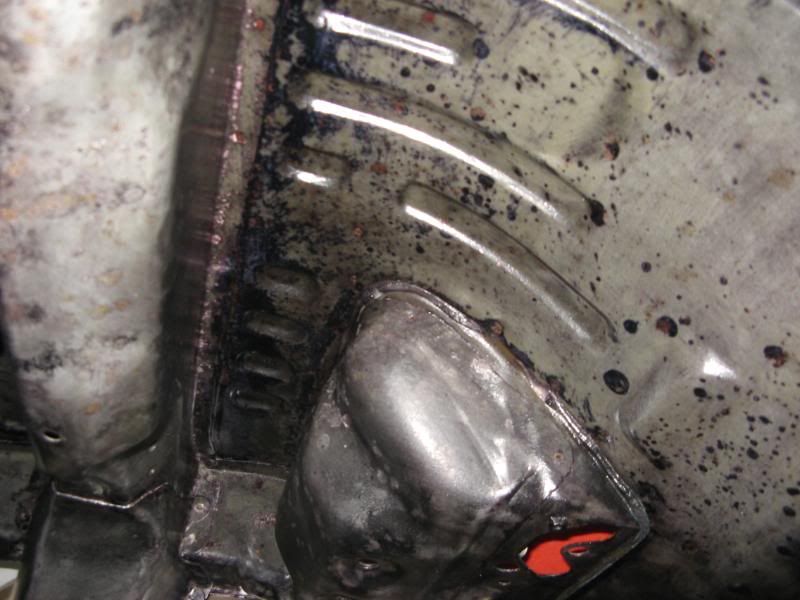
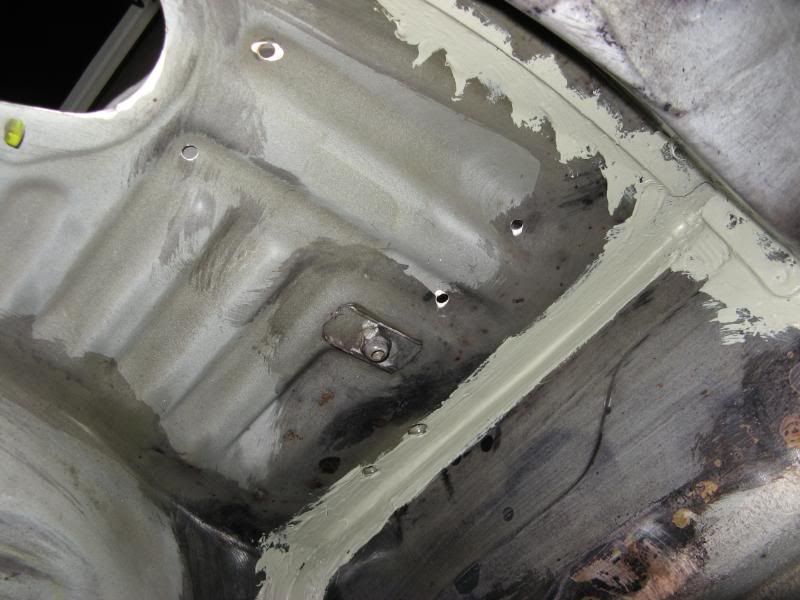
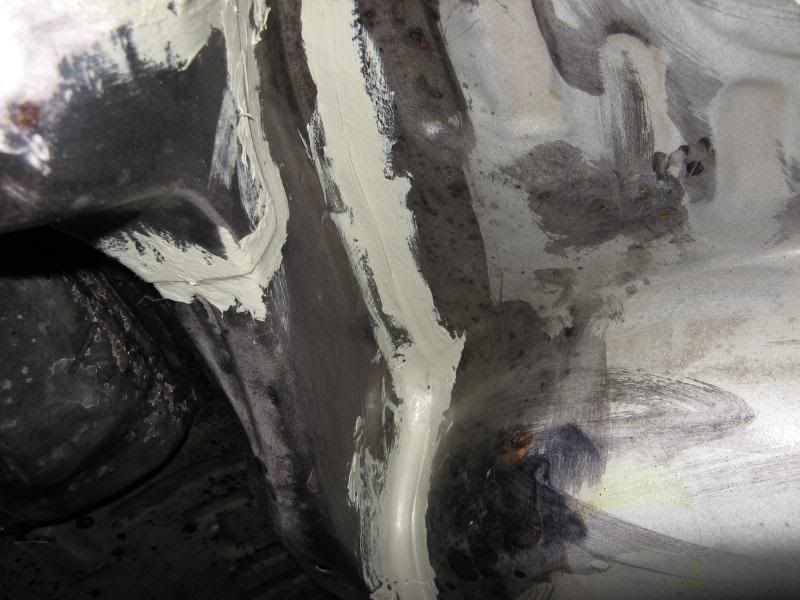
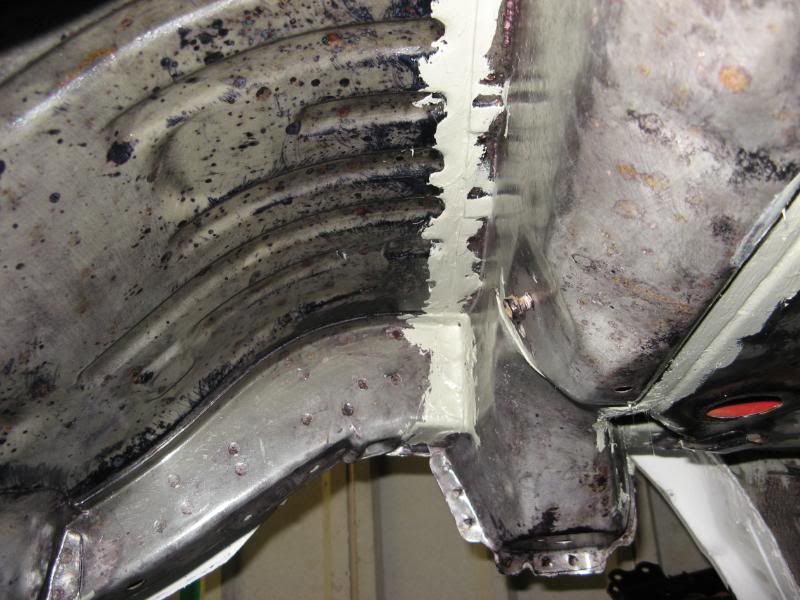
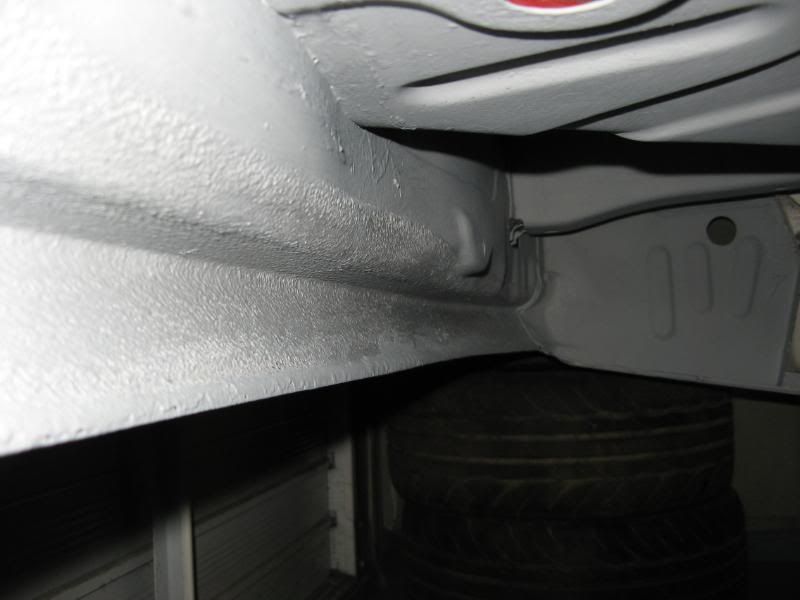
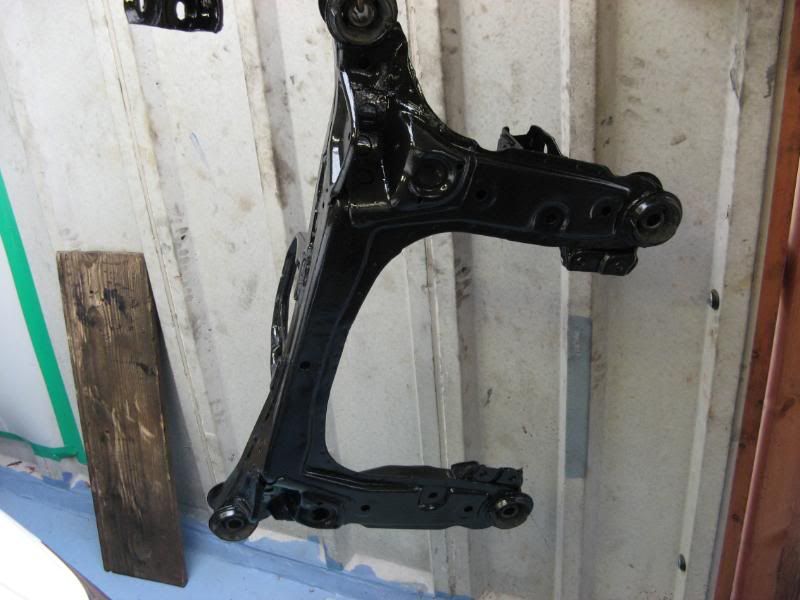
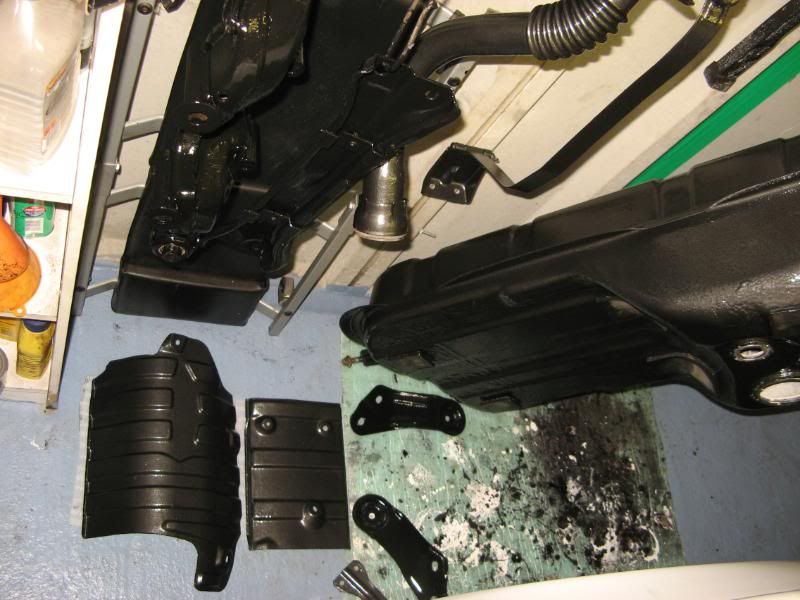
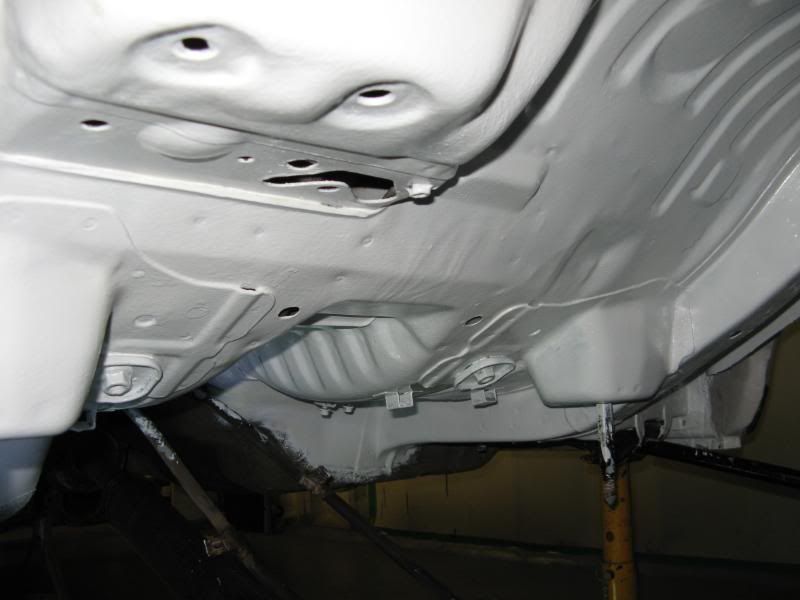
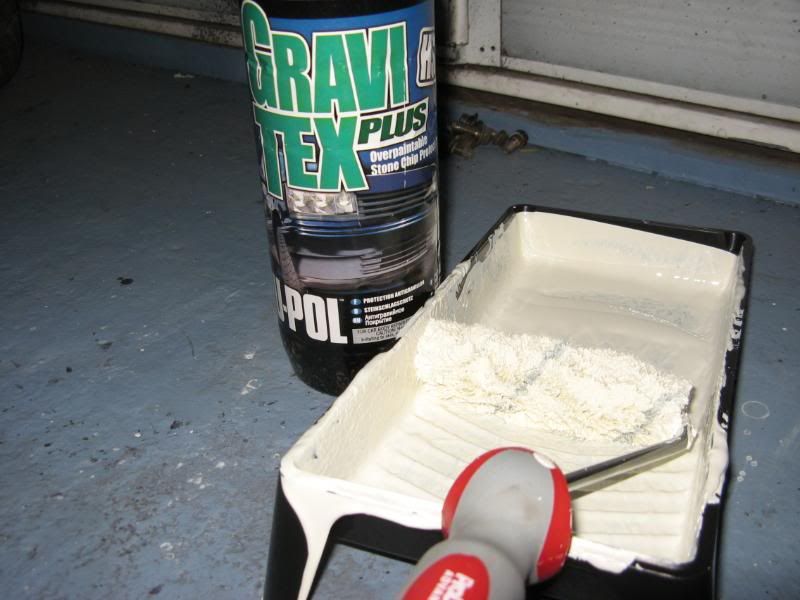
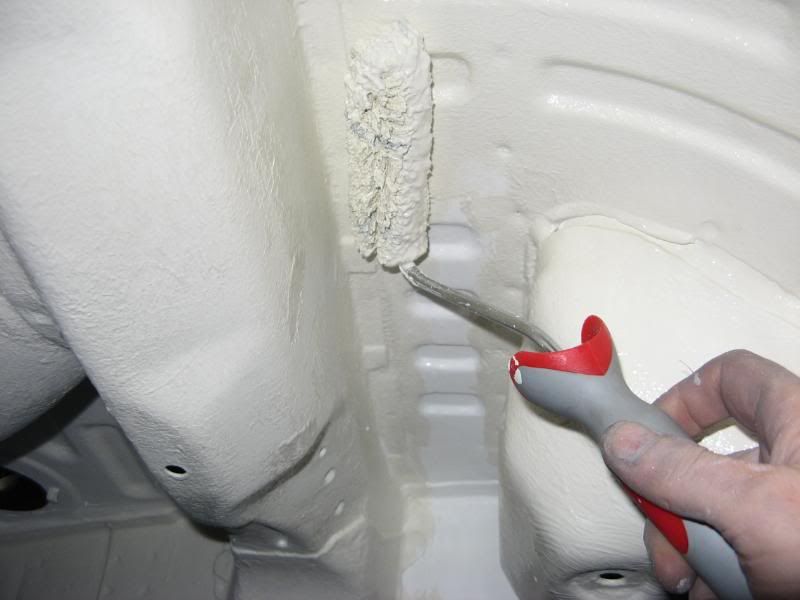
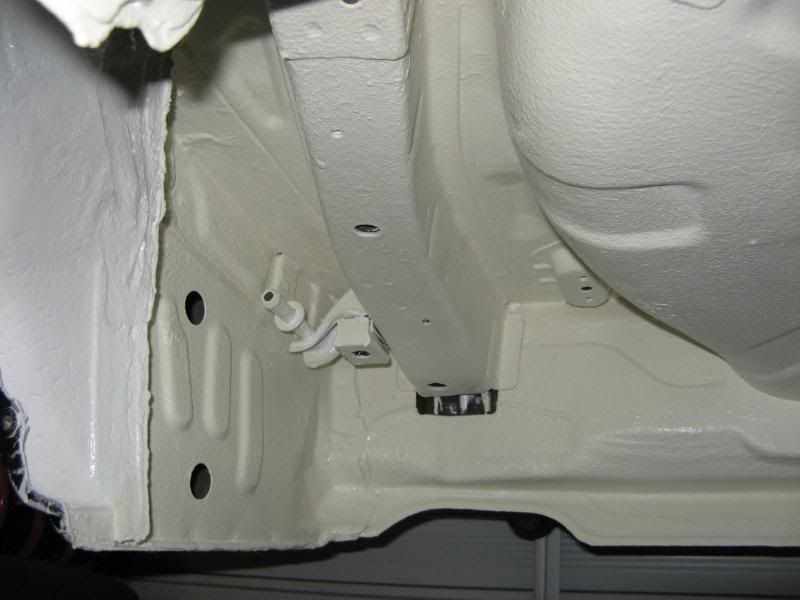
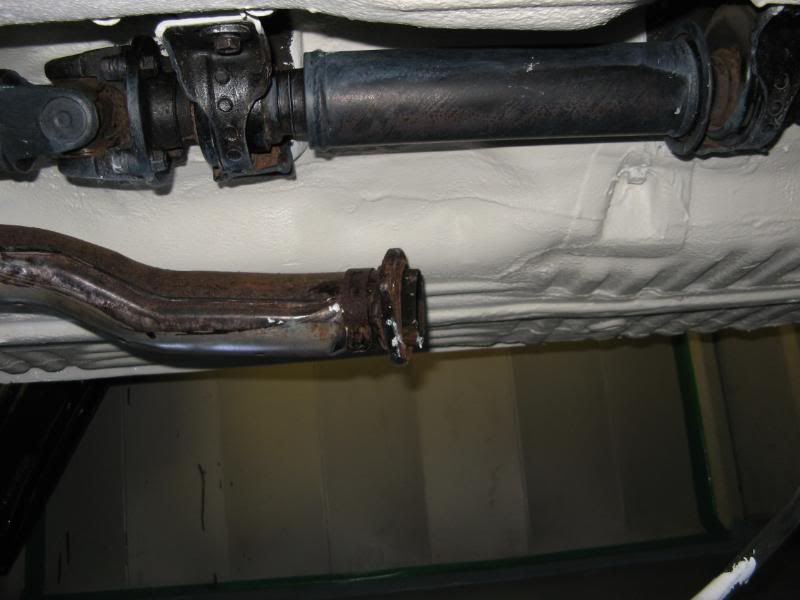
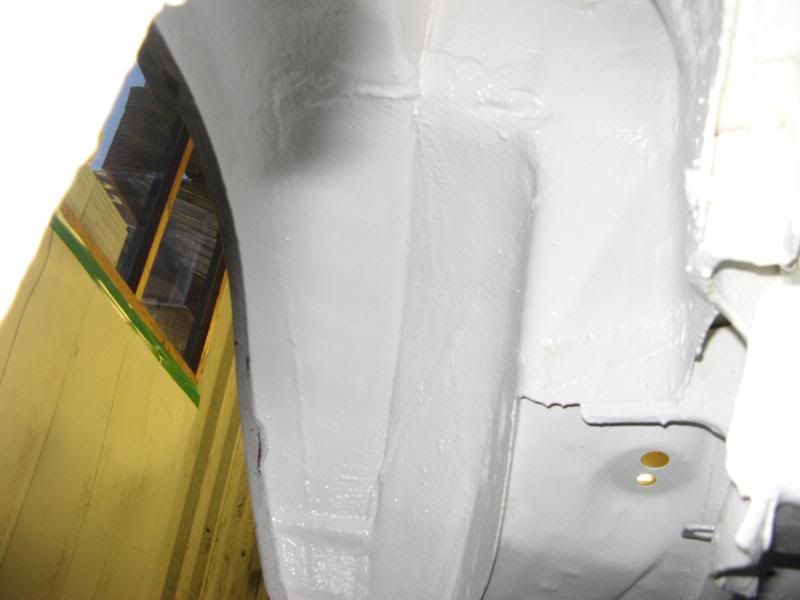
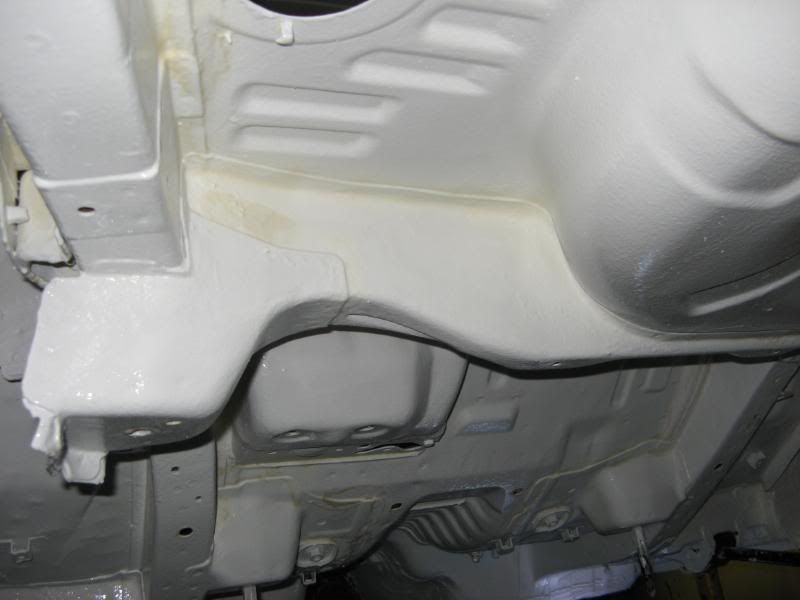
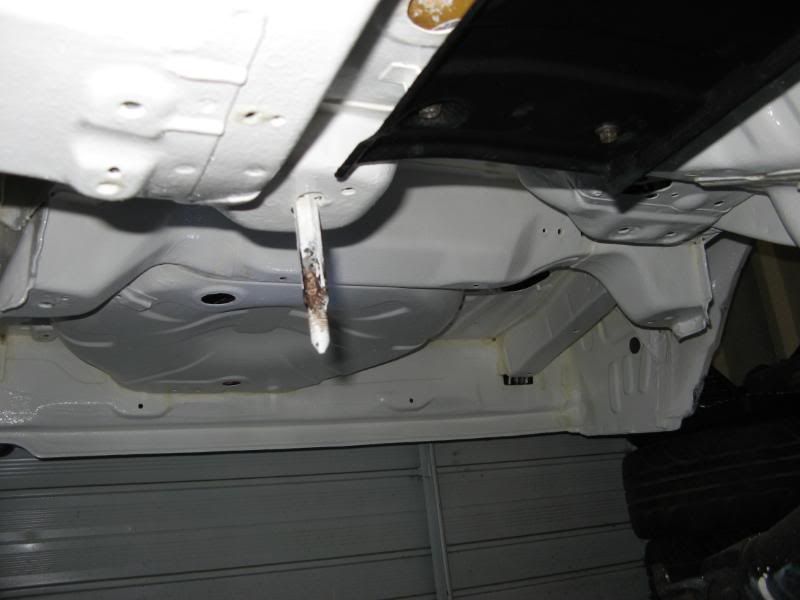
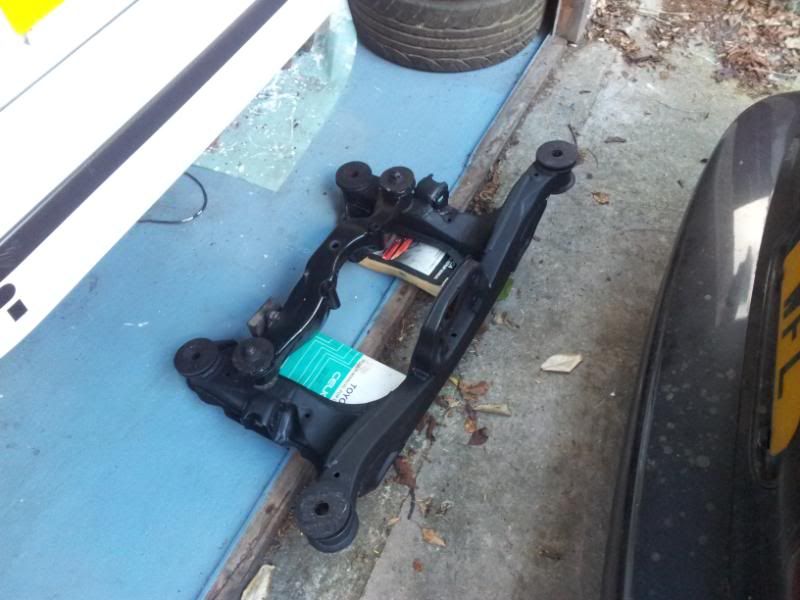
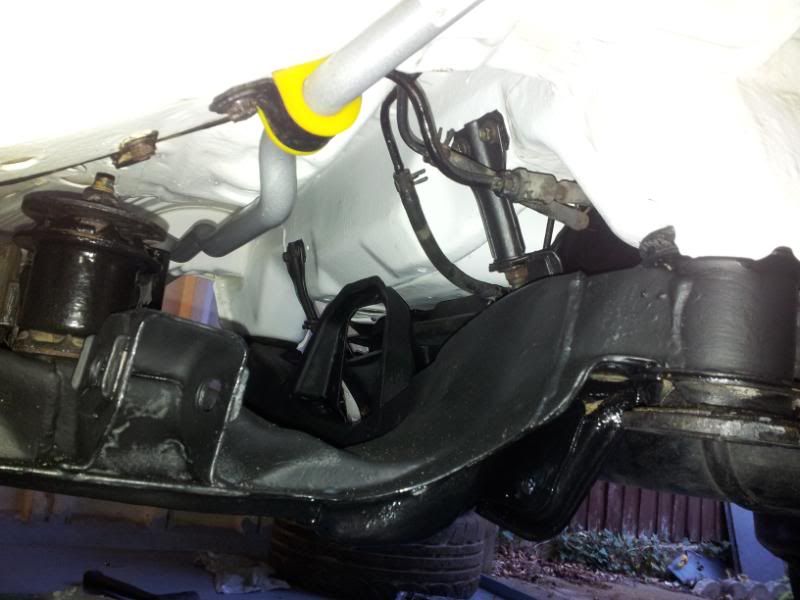
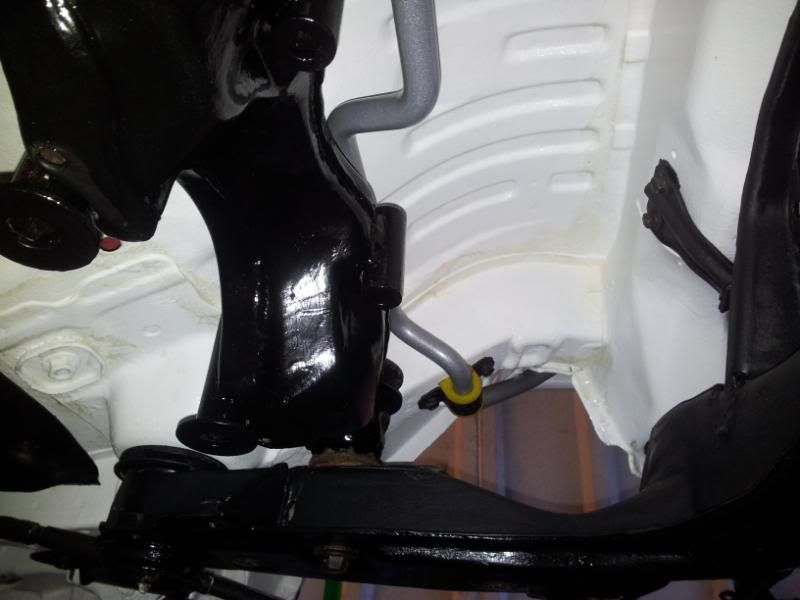
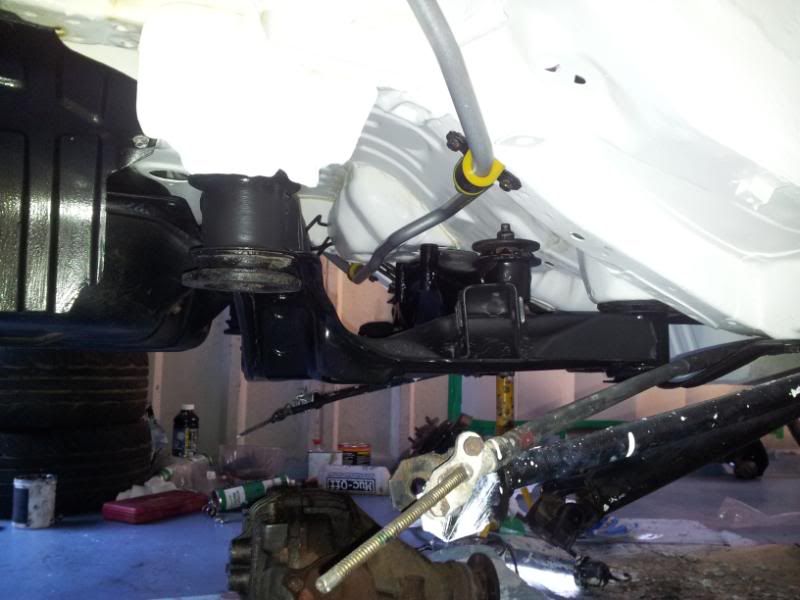
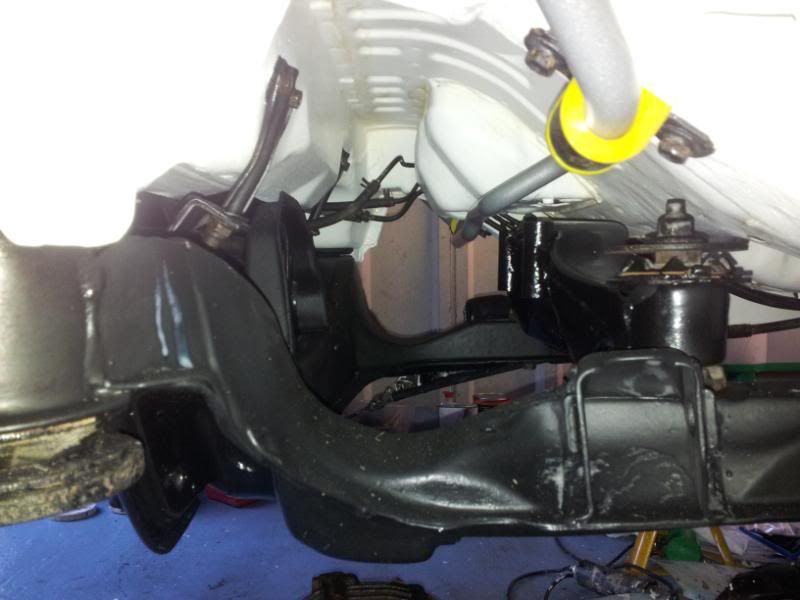
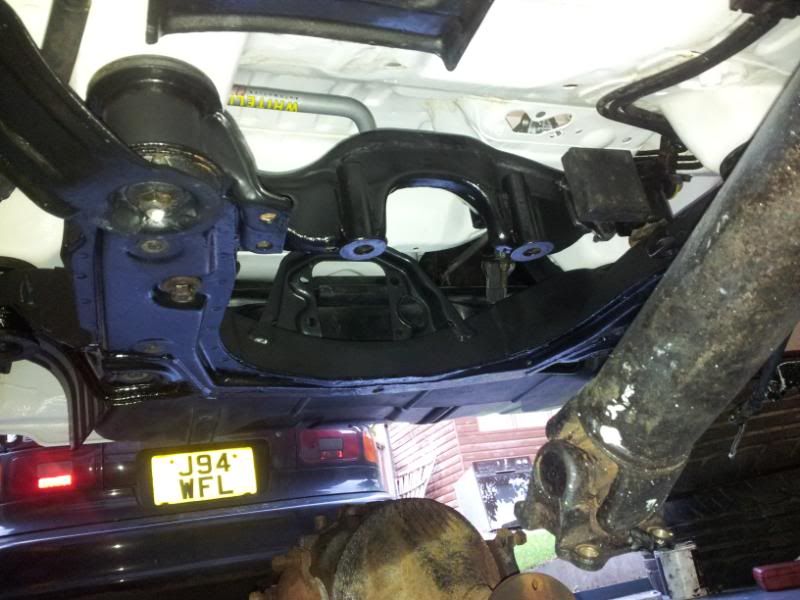
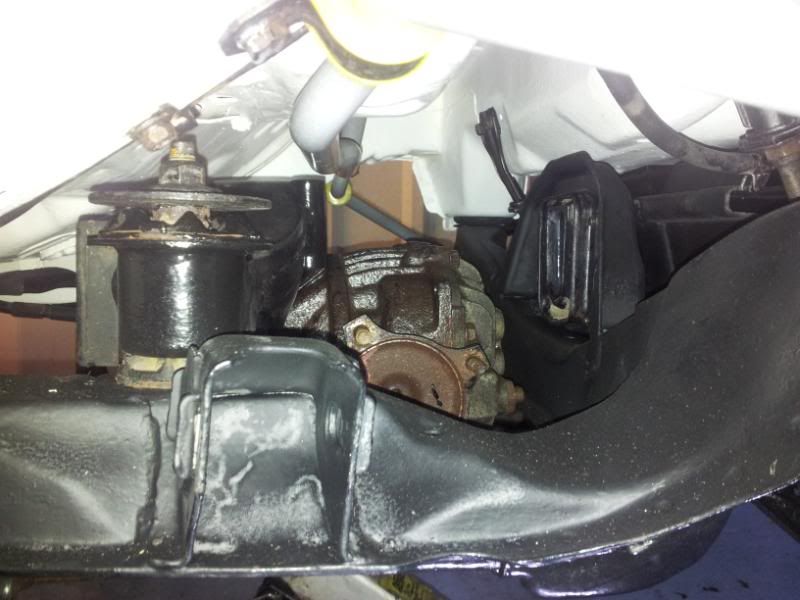
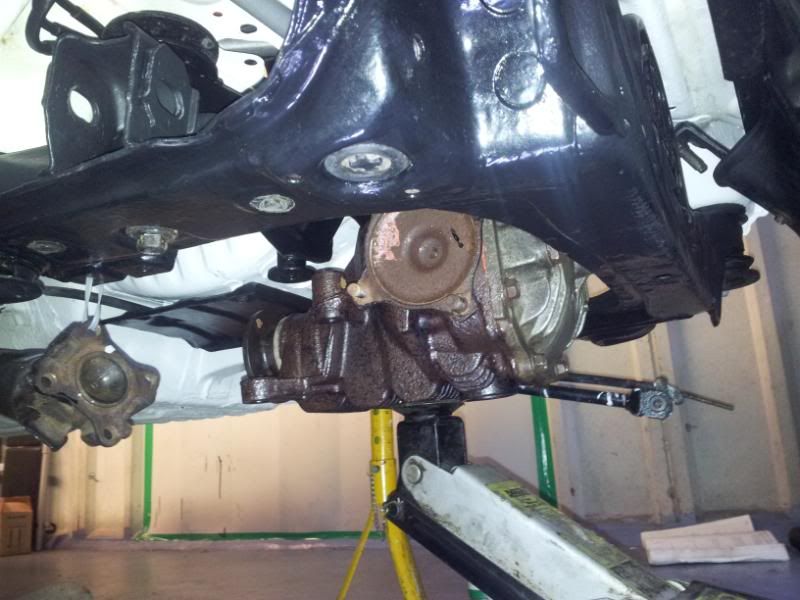
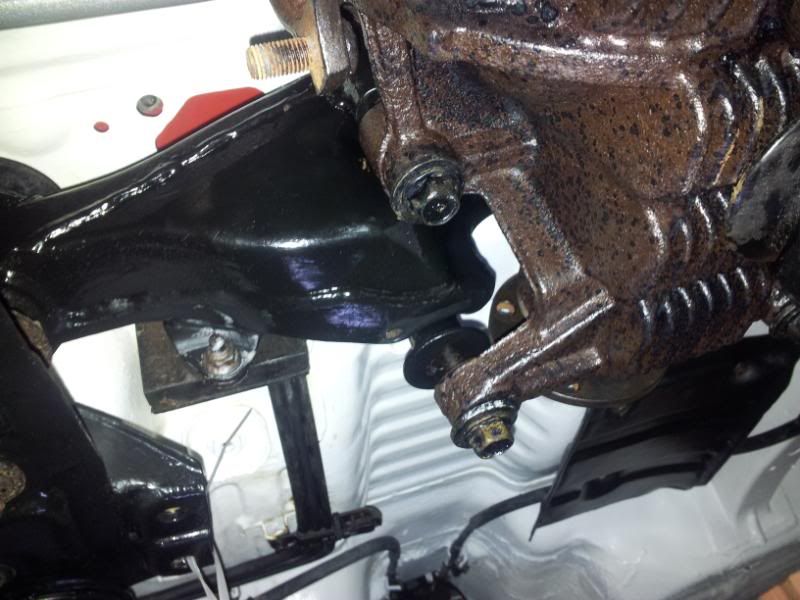
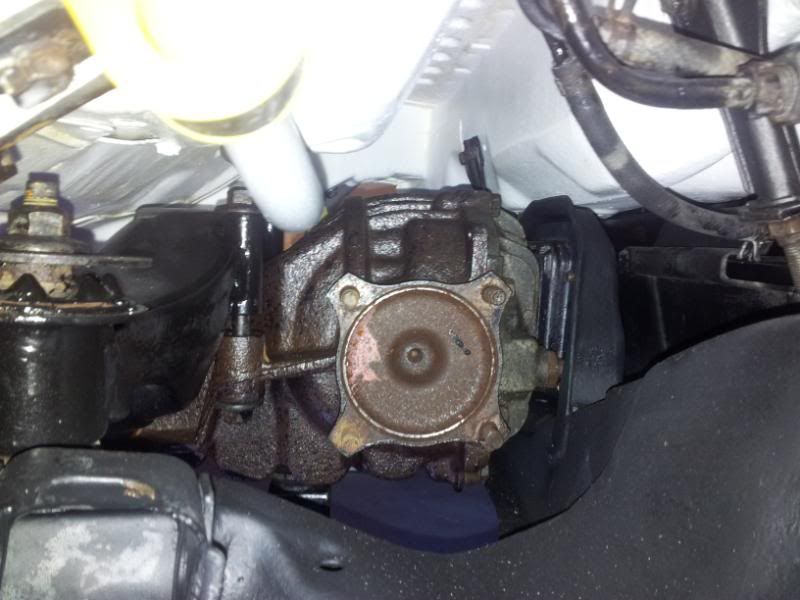
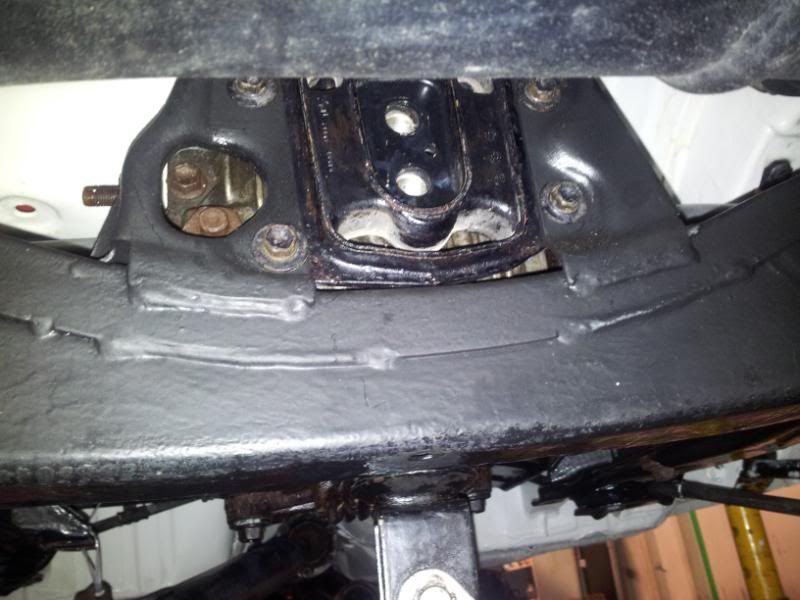
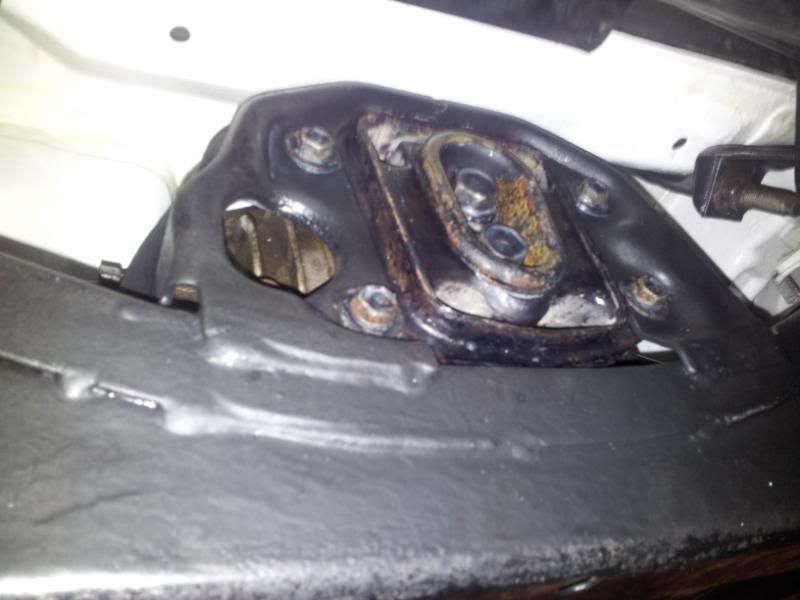
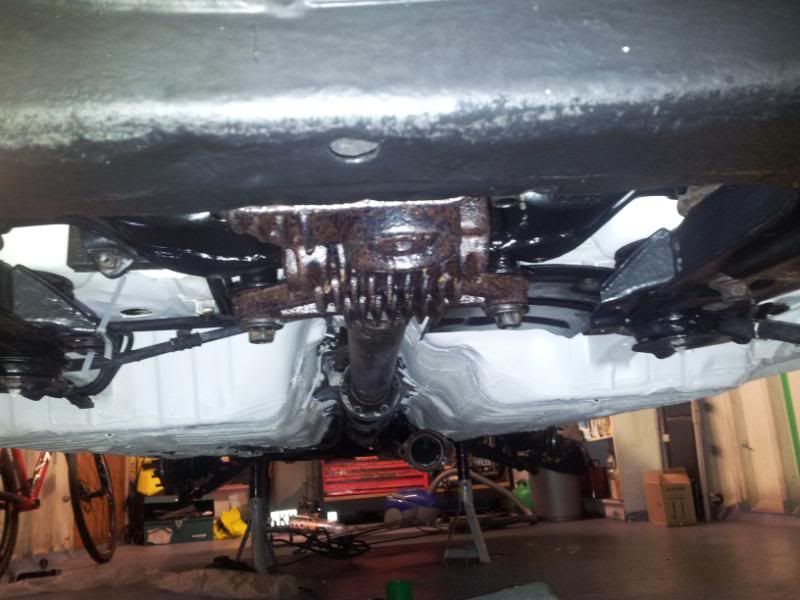
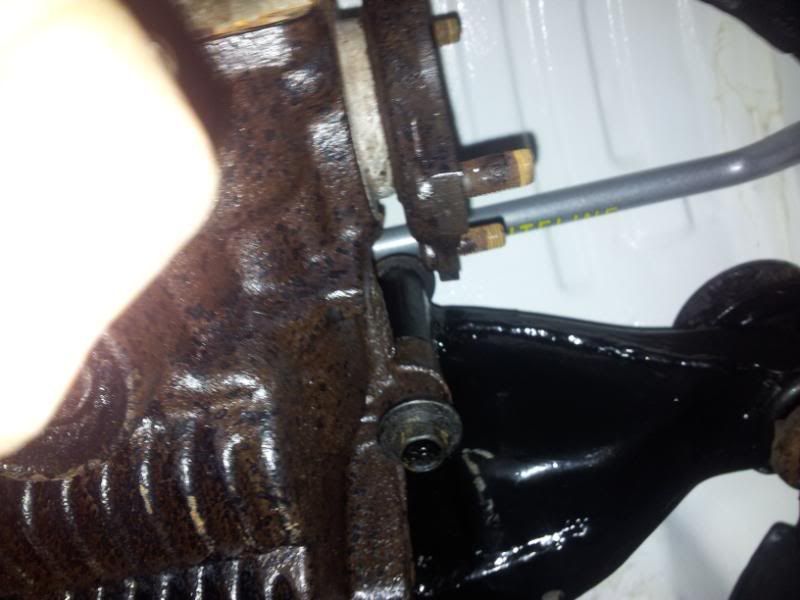
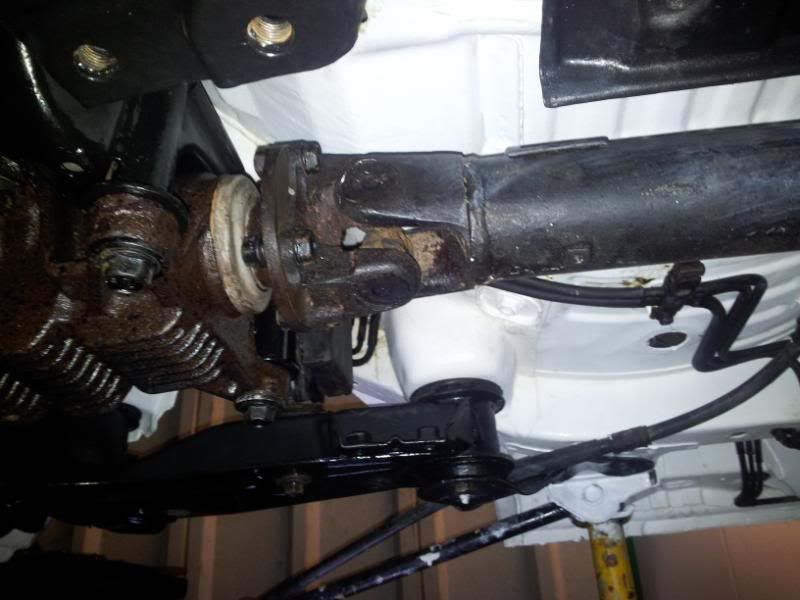
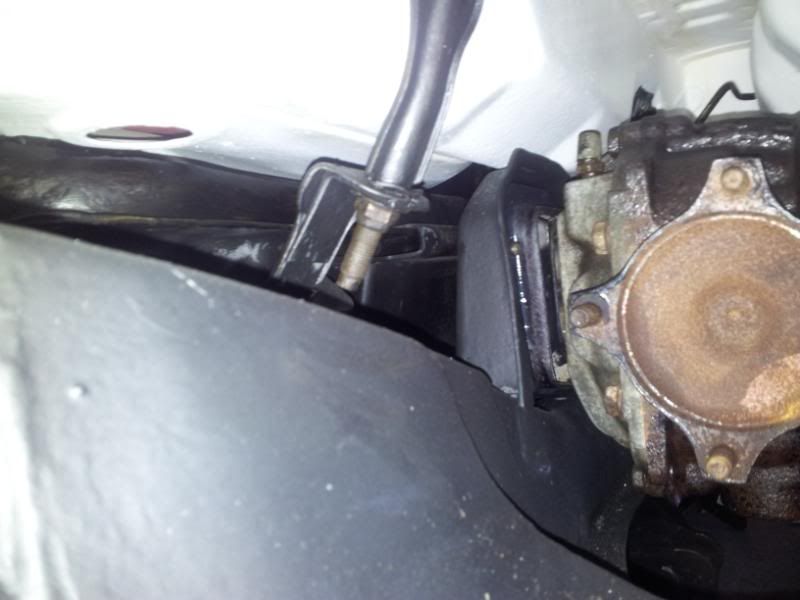
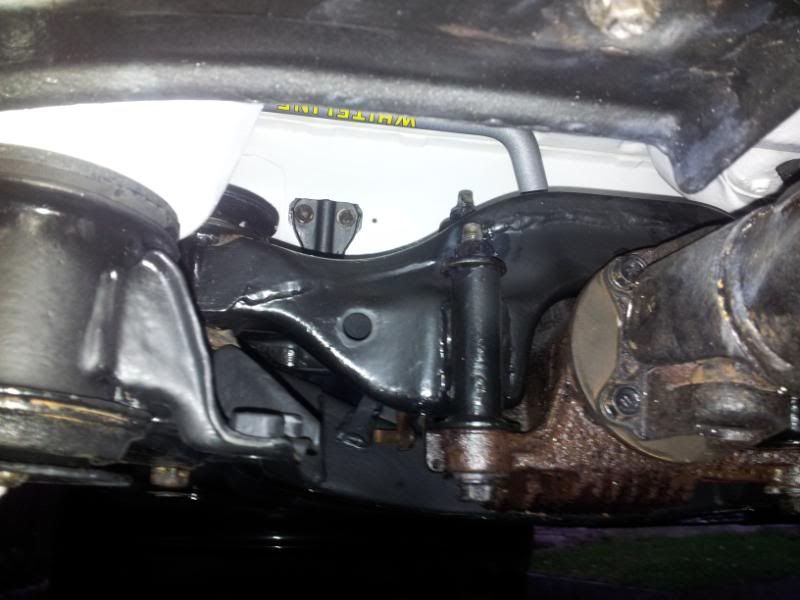
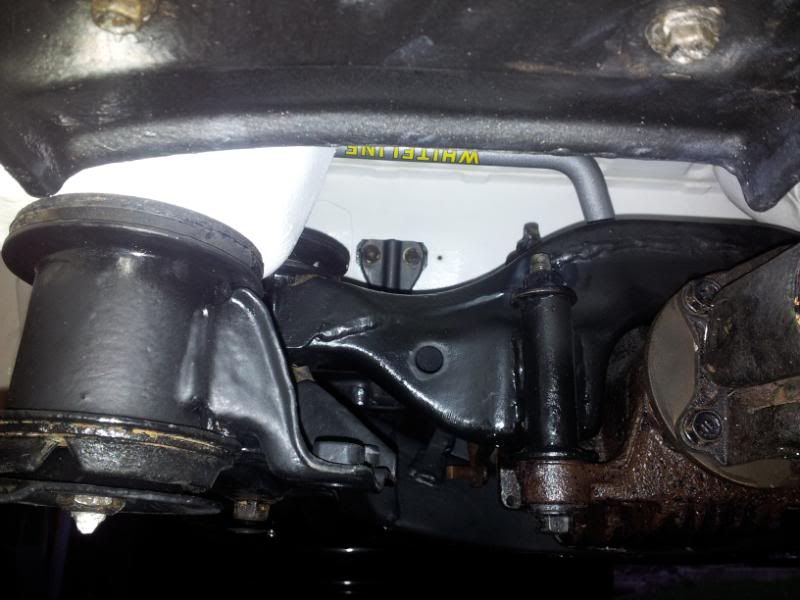
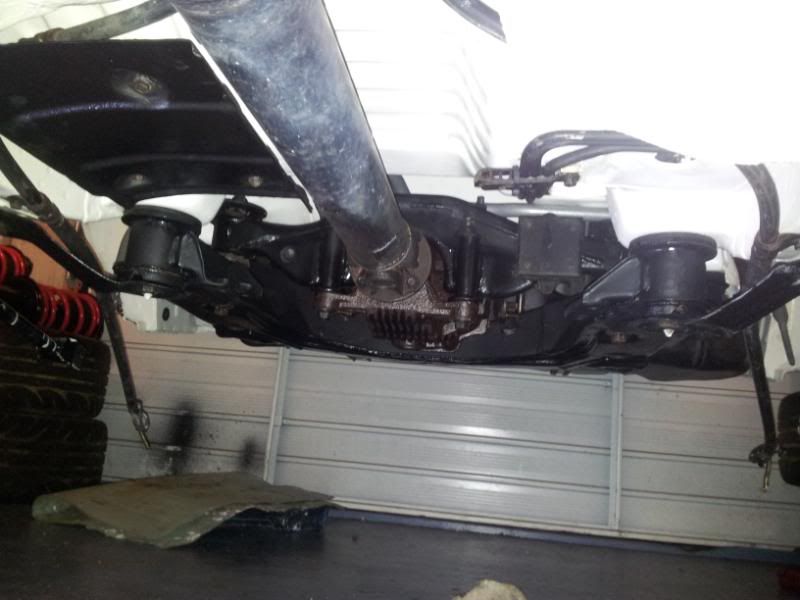
Then I did some work on the rear subframe, this was the only area where surface rust had started to flake the paint off - so I have wire brushed this off and rust treated it. The subframe will be removed and redone when I fit an ST205 rear diff and Whiteline ARB. I refitted some interior trim panels, though the car will remain stripped out. 
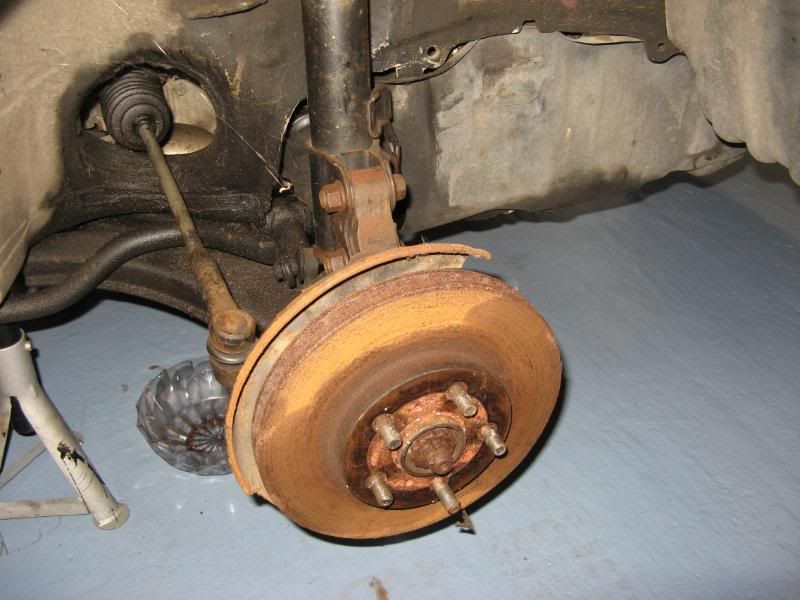
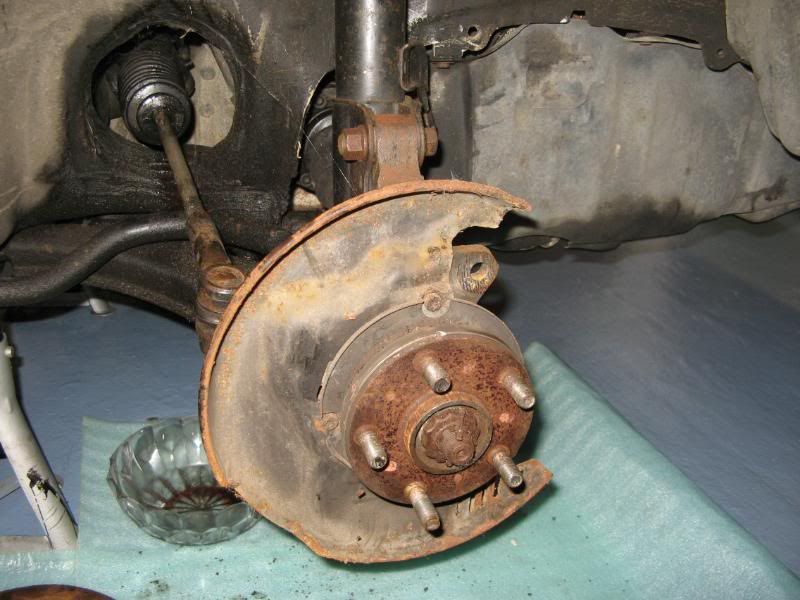
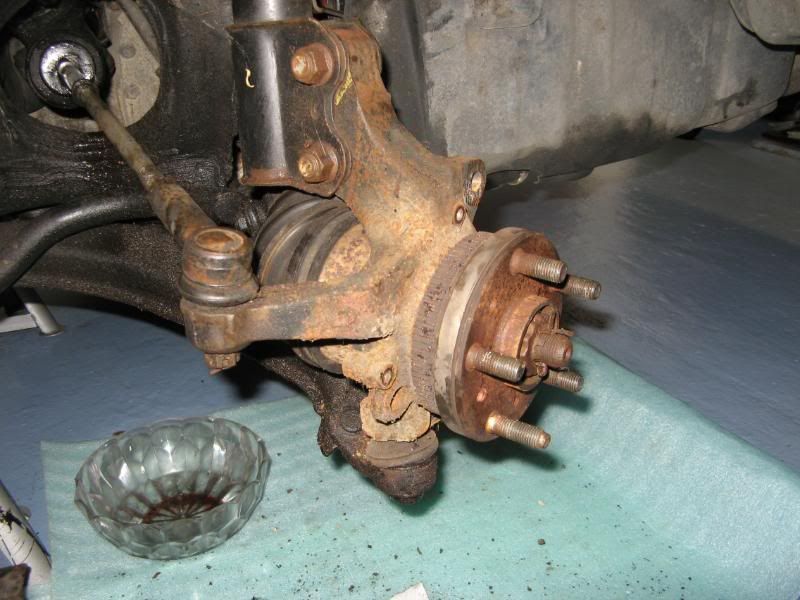
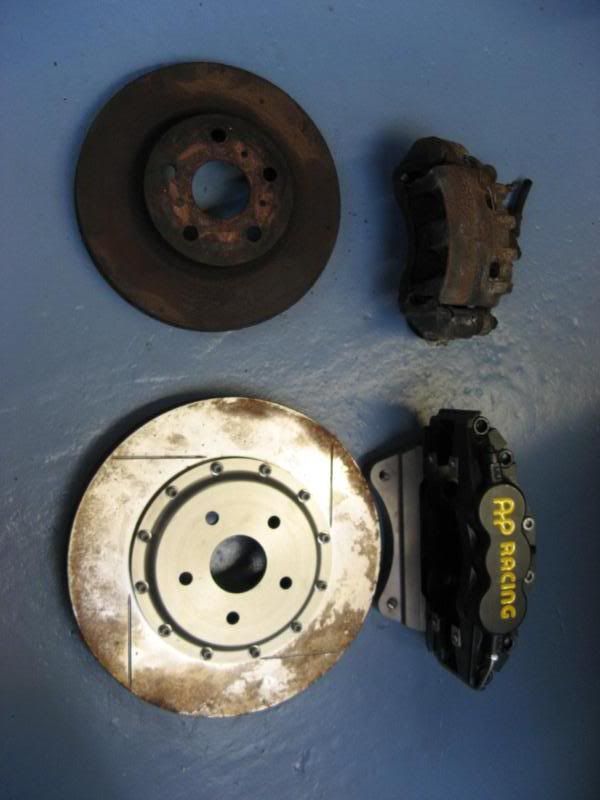
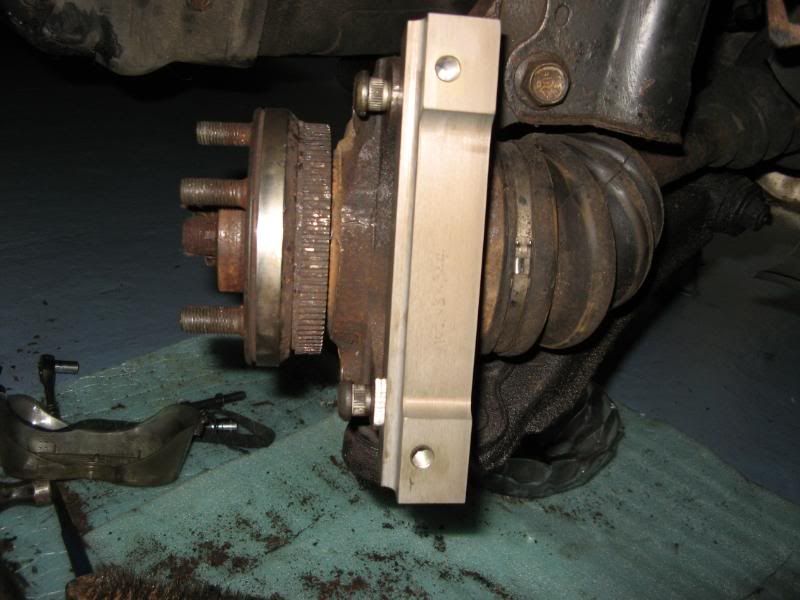
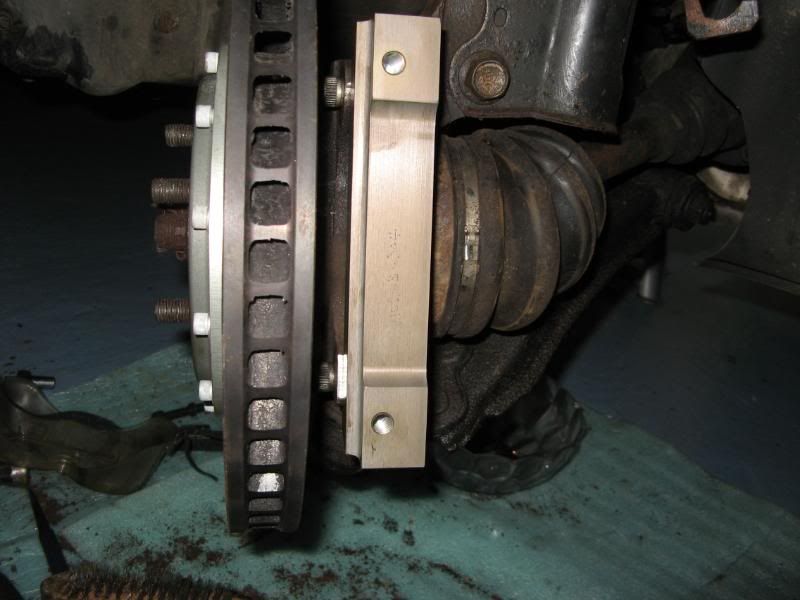
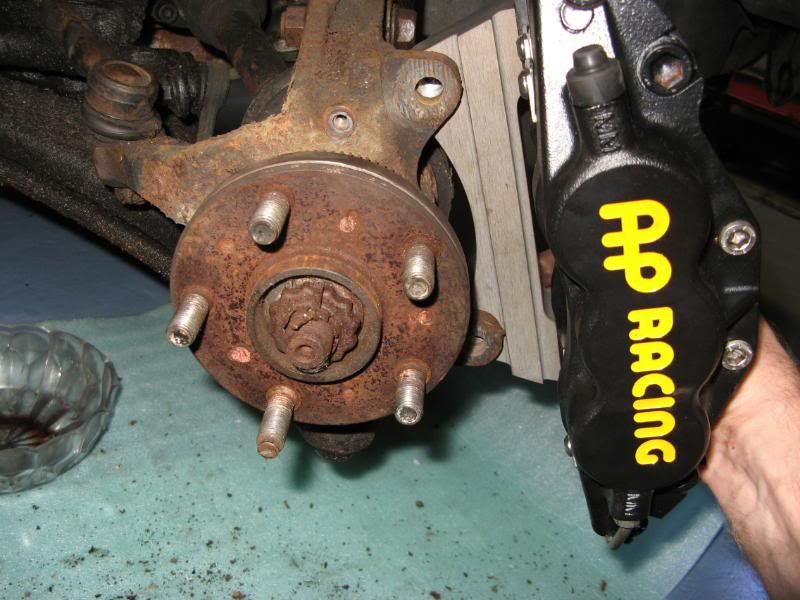
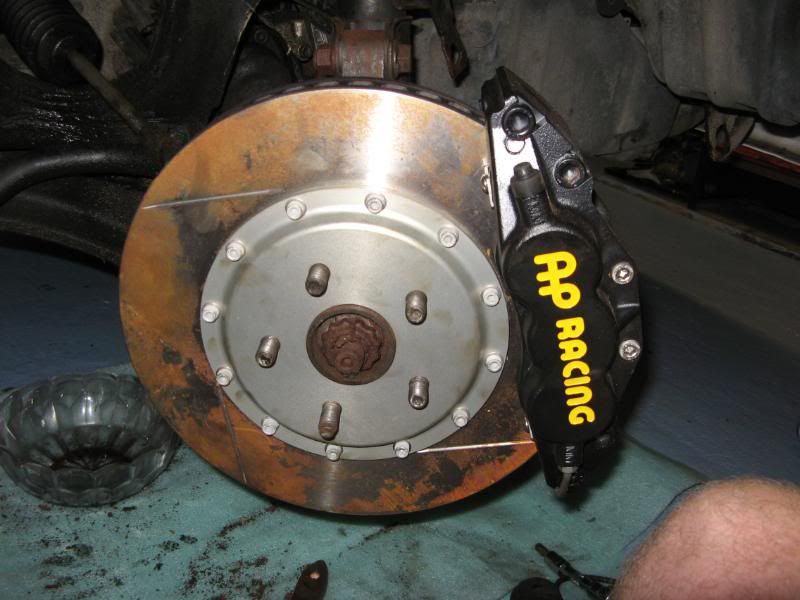
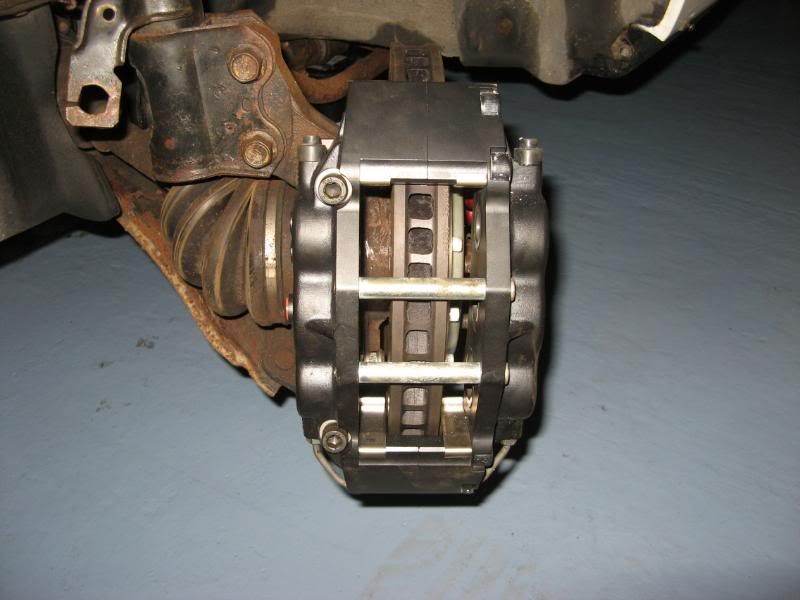
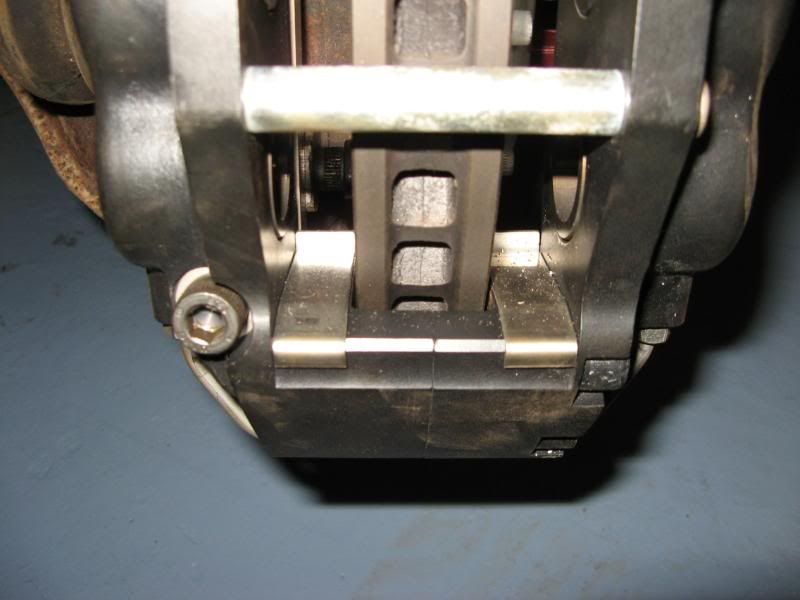
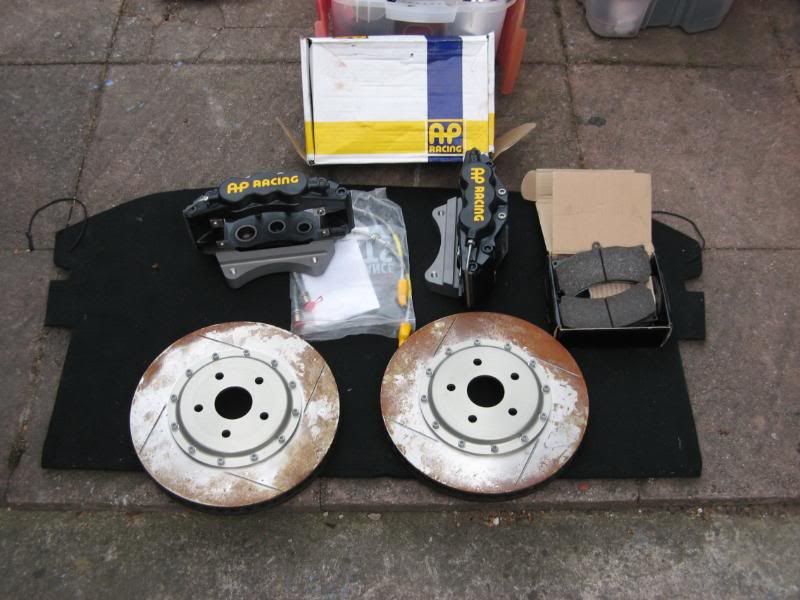
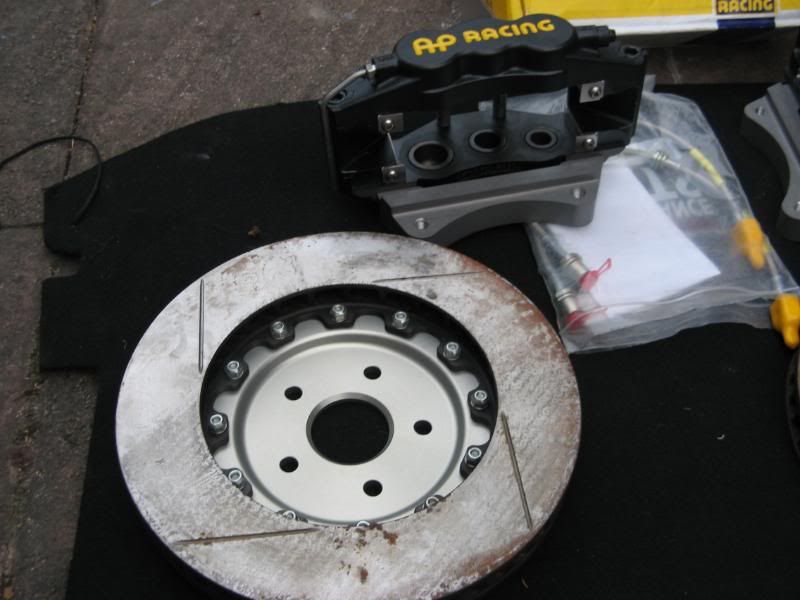
I test fitted one side of the ARP brakes last night, they fit well and am sure will stop the car 'dead'. So ... 
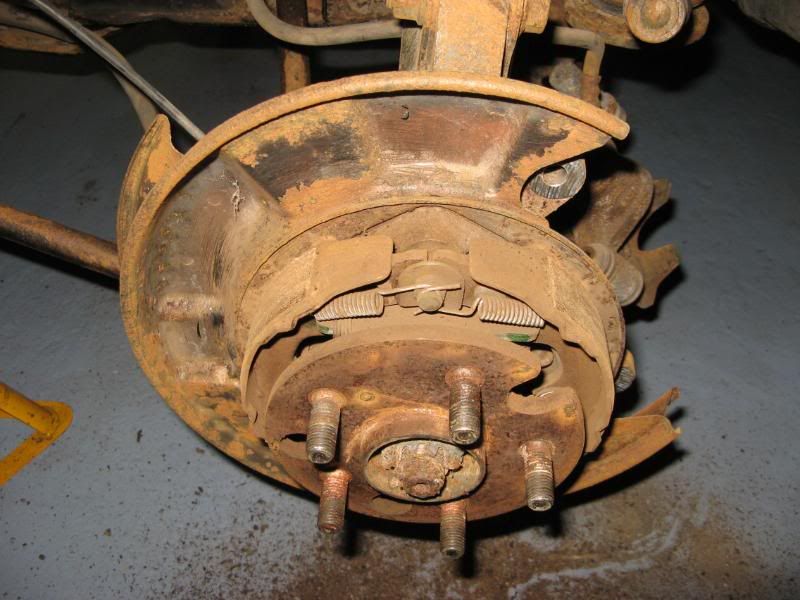
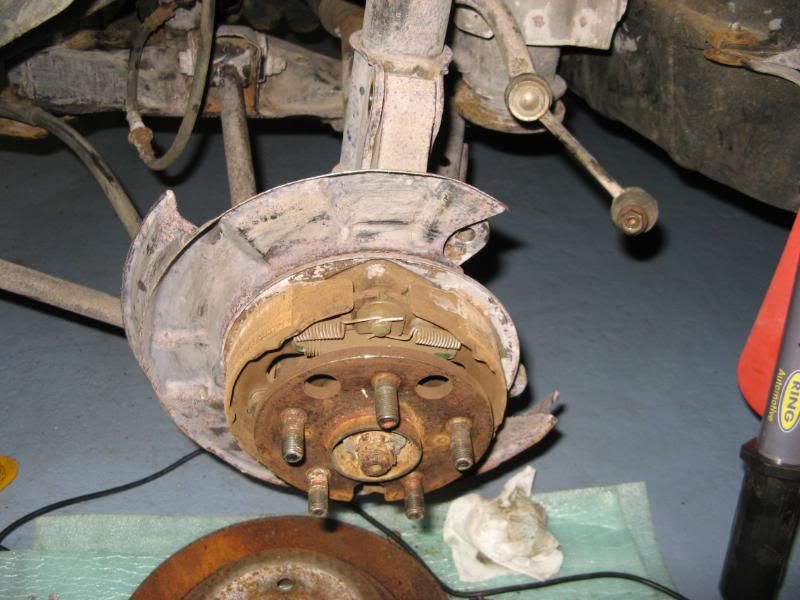
The first major objective is to get the brakes fully working which will include fitting the ARP brakes to both sides, installation of some pipes and hoses (depending also on whether I use the existing lines with the ABS removed) and finally the ST205 rear brake setup. Martin |
Author: | k1ano [ Tue Aug 09, 2011 12:25 pm ] |
Post subject: | |
Post 2 ... Brakes test fitted tonight ... From this ... Back plate needs to come off ... Old and new comparison ... Caliper bracket ... With caliper ... End result ... Nearside disk nice and cental in the caliper ... Had some fun with the offside disk as the wheel studs on this side have a large shamfer which stops the disk from seating fully meaning it is not centred in the caliper, so the stud holes with need countersinking ... nearside studs and disk fitting is fine ... Martin |
Author: | k1ano [ Tue Aug 09, 2011 12:26 pm ] |
Post subject: | |
Post 3 ... Decided to do some work on the rear hubs, arches and struts today ... I am going to keep the ST165 hubs now and so needed to tidy up the back plates, trim them down for the ST205 disks and generally treat the surface rust that came from being stood near the sea for a few years. I also wanted to paint the arches white and tidy up the struts too ... Some hub work and rust treatment ... Fuel filler pipe - always worth checking this as it's prone to corrosion ... Great condition bodywork to start with ... Used some seam sealer then painted white ... Some black paint for a change to give the struts a new lease of life - springs are spax ... Martin |
Author: | k1ano [ Tue Aug 09, 2011 12:26 pm ] |
Post subject: | |
Post 4 ... Looking for a roll cage at present but in the meantime just gonna fit the front the centre console section and a carbon panel where the glove box was ... also likely to fit a fire extinguisher system too ... These are the seats I have had sat in my shed for about 4 years - they are going in with some harnesses I bought off Karen when she broke the princess :thumbsup: Martin |
Author: | k1ano [ Tue Aug 09, 2011 12:27 pm ] |
Post subject: | |
Post 5 ... Bit more work last night and tonight - basically removed rear diff, suspension and subframe then started to prepare the rear subframe for painting later in the week ... Diff removed ... Removed parts ... Some underfloor pictures ... Cleaned up subframe ... Martin |
Author: | k1ano [ Tue Aug 09, 2011 12:28 pm ] |
Post subject: | |
Post 6 ... Latest pics from the last couple of days, soon be time for final painting and re-assembly of the rear end I have been using Vactan rust converter after using wire wheels on the angle grider, drill and drill snake to take off any surface rust. This does great job of inhibiting rust and also leaves a hard polymer primer to paint over - it turns black once dried but is an odd greeny colour as it's reacting ... Cleaned up some suspension nuts and bolts, hope I can remember where they all go ! Boot floor and preparation ... Petrol tank work ... Subframe work ... Misc parts inc. exhaust heat shields ... Martin |
Author: | k1ano [ Tue Aug 09, 2011 12:29 pm ] |
Post subject: | |
Post 7 ... Fair bit of painting today - maybe a day off tomorrow ! Boot floor prepped for priming ... Put some seam sealer in places ... Primed ... This lot ready for painting ... Done ... Need to top coat the boot floor then can think about some re-assembly Martin |
Author: | k1ano [ Tue Aug 09, 2011 12:30 pm ] |
Post subject: | |
Post 8 ... Latest update, paint applied - getting there, steady but surely Martin |
Author: | k1ano [ Tue Aug 09, 2011 12:30 pm ] |
Post subject: | |
Post 9 ... Boot floor and underside done now ... I decided to use U-Pol Garvitex Stone chip to cover the boot floor - this was applied with a 4 inch roller and covered really well ... and then when this dried I zipped over it with white paint again as I wanted a white finish ... finally some wax-oyl sprayed in the sills, chassis and seams ... ready for re-assembly next I think ... getting fed up of lying on my back and paint in my hair ! U-pol Gravitex stone chip stage ... Basically the finish after it was re-painted again in places to restore the white finish ... This stuff - about £3 a tin from Toolstation ... Martin |
Author: | k1ano [ Tue Aug 09, 2011 12:31 pm ] |
Post subject: | |
Post 10 ... As of 8/8/2011 Been a while since the last update as been busy with a few things but back on the project now ... I have not included the petrol tank and fuel pipe installation as yet as the pictures are on another camera - may do this later but it all went well and nothing too tedious - apart from trying to keep the white paint clean ! Whiteline ARB in place ... You can also see the fuel lines which are in excellent condition, these were sanded, rust-proofed, smooth hammerited and waxoyled during installation ... Subframe installation - done on my own, no jack required ... The subframe has been finished in smoothe hammerite and waxoyled internally and in certain places ... Assembly of the diff carrier made sense and the subframe was light enough to do on my own without a jack. All bolts were easily accessible and there were no issues doing it this way. Rear 205 diff installation - done on my own, with jack ... The diff was coated in rust proofing stuff, which leaves a resin coating - hence the shine. I fitted the diff mount loosely to the subframe and then raised the diff up gently tilting ti forward to clear the rear edge of the subframe. Once it cleared this it was easy to then to lift it into place and secure with the 4 bolts. The two large diff mounting bolts were done up loosely. Then everything tightend to locate the diff correctly. This process was also very straightfroward like this. All done - propshaft connected ... I have waxoyled all exposed bolt threads and heads using spray tins from toolstation which work well - no need for brushes. Martin |
Author: | Insanity-74 [ Tue Aug 09, 2011 3:33 pm ] |
Post subject: | |
Very Cool.....I`ll have a 165 one day |
Author: | Diceman [ Tue Aug 09, 2011 7:46 pm ] |
Post subject: | |
Holy bleep - you did all that in 1 day! Seriously though that looks a fantastic job and a project to really be proud of. I was sooo tempted by Wiggy's St165 so really good to see it getting the attention it deserves. You may even inspire me to extract my digit and crack on with my RC project! Keep us posted with updates please Martin and nice to see you back posting. |
Author: | Kris [ Tue Aug 09, 2011 7:52 pm ] |
Post subject: | |
Nice work Martin, thanks for sharing |
Author: | johnyboy1976 [ Tue Aug 09, 2011 8:00 pm ] |
Post subject: | |
great thread |
Author: | Sirius [ Tue Aug 09, 2011 9:11 pm ] |
Post subject: | |
Hi Martin, Long time no see - it seems an age ago that the group of us went to the Nurburgring! Excellent thread great to see a ST165 saved! |
Page 1 of 7 | All times are UTC + 1 hour |
Powered by phpBB® Forum Software © phpBB Group http://www.phpbb.com/ |